

iansoutham
-
Posts
249 -
Joined
-
Last visited
Content Type
Calendar
Downloads
Profiles
Forums
Gallery
Tutorials
Collections
Posts posted by iansoutham
-
-
-
-
Okay, now we are up to date, the latest bit of ripping things off the car....
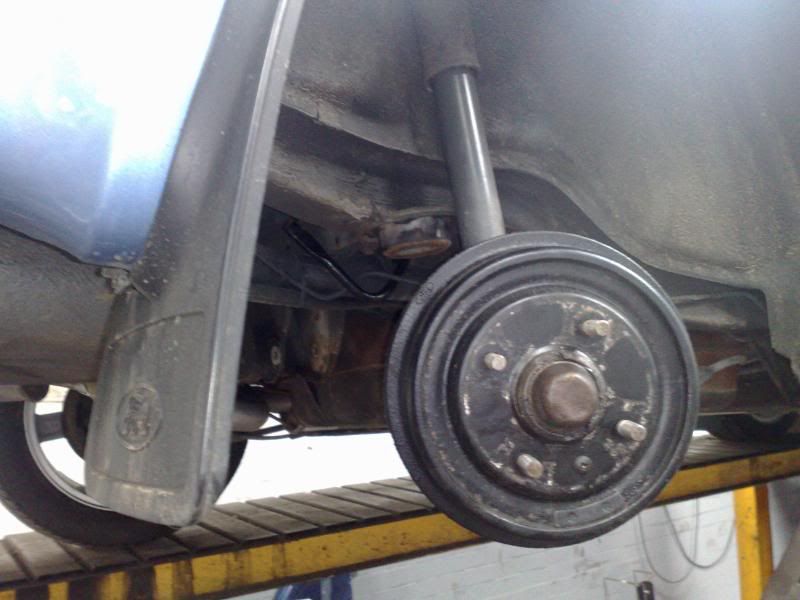
Decided today that the brakes would all be coming off for a bit of refurbishment while the car is laid up over winter.
Got the rear drums off easy enough
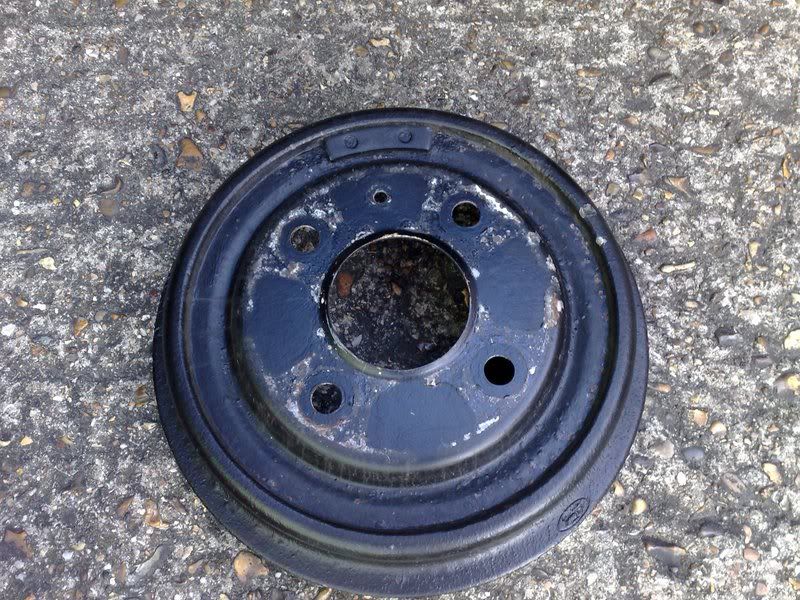
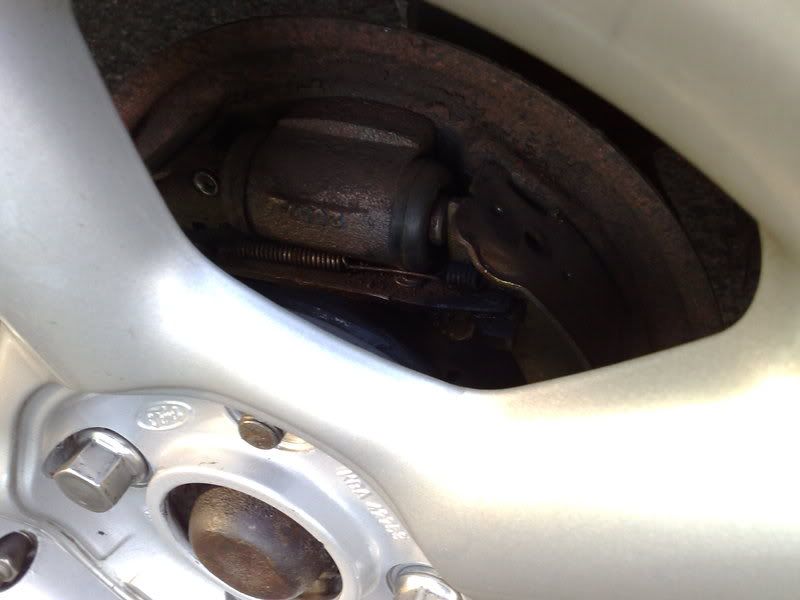
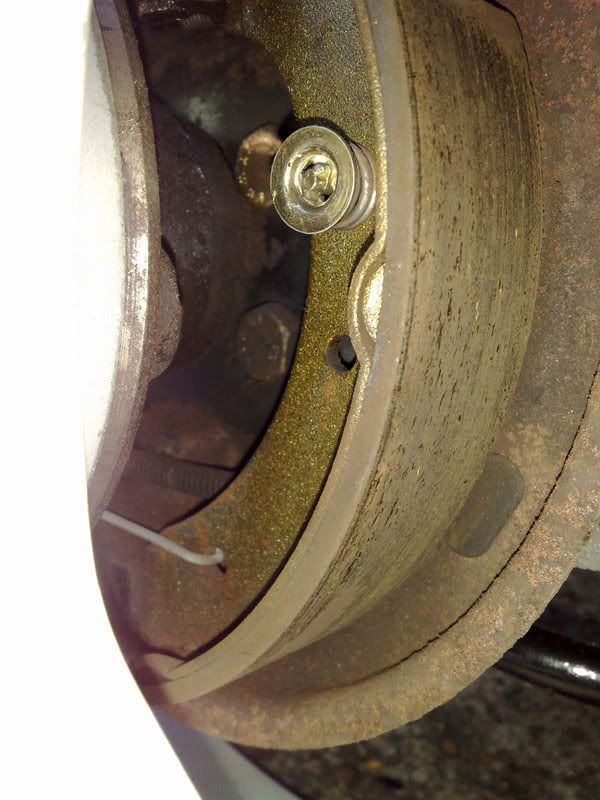
I will remove the backplates nearer the time for refurbishment as it means less dismantling for now.
As for the fronts, I have made an end-piece for the brake lines out of old unions with and arc-weld over the end to prevent spillage.
Front brakes all removed
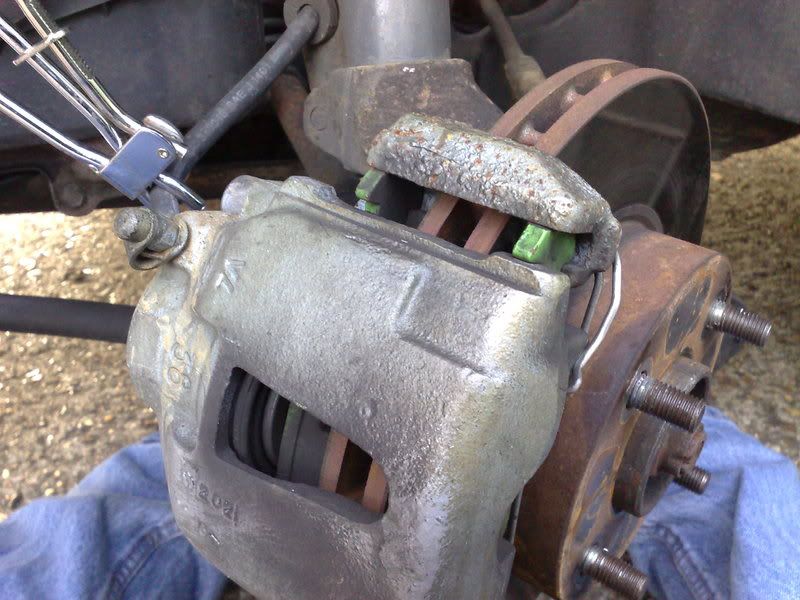
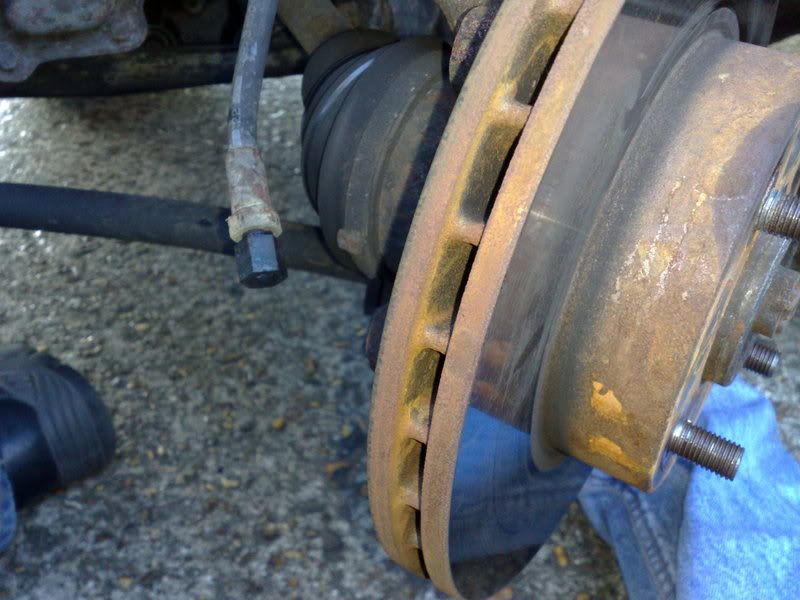
All the brakes off
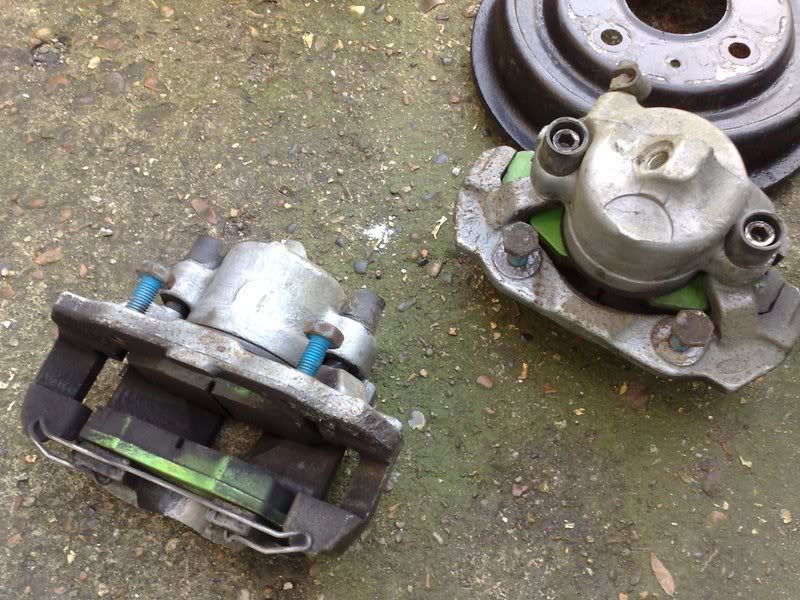
Next it was into the garage to get the calipers themselves apart.
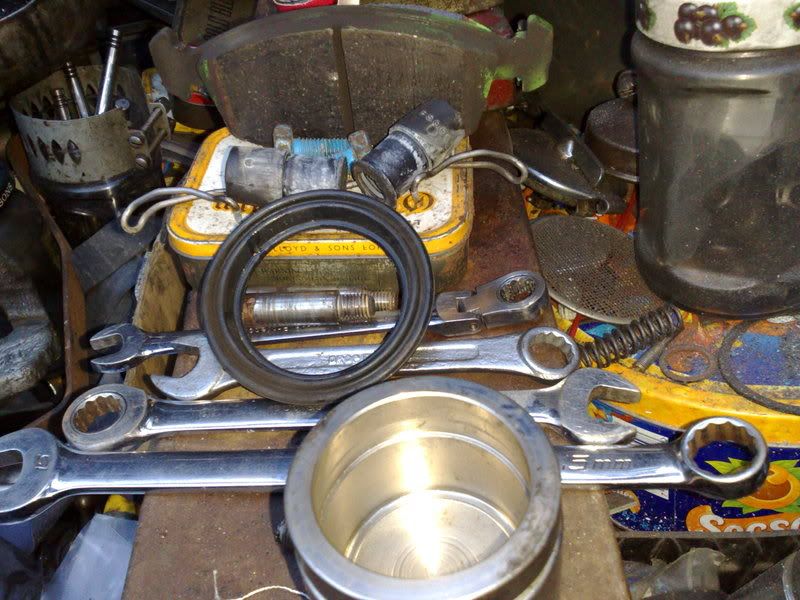
Turns out that the drivers front caliper was just starting to bind slightly as I needed to up the compressor on the airline slightly to pop the piston out of the caliper. Once out, it would appear that I have managed to get the brakes a little hot @ some time as the inside of the caliper body was full of "mayonnaise" where water had sat and curdled with the brake fluid. This may mean an upgrade to 283mm Cossie discs, or just simply replace the brake fluid (which will happen anyway). I will decide over the next month or so.
All came apart nice and easy. Next job is to get some seal kits from BigRed and get these calipers and carriers shot-blasted in work ready for some painting. I will probably be going for silver coach enamel on the fronts and black on the rear drums.
-
very nice mate, can see you have put alot of work into this car,
was this car also used in the mk4 buying guide with fast ford too?
Yes it was. Had a lot done "under the skin" compared to when it was featured.
-
Are you pressing the button within 3 seconds?
IF so, then you are most likely activating "panic mode" which will run for a set period (from 30 seconds to 5 minutes depending on setting my manufacturer).
-
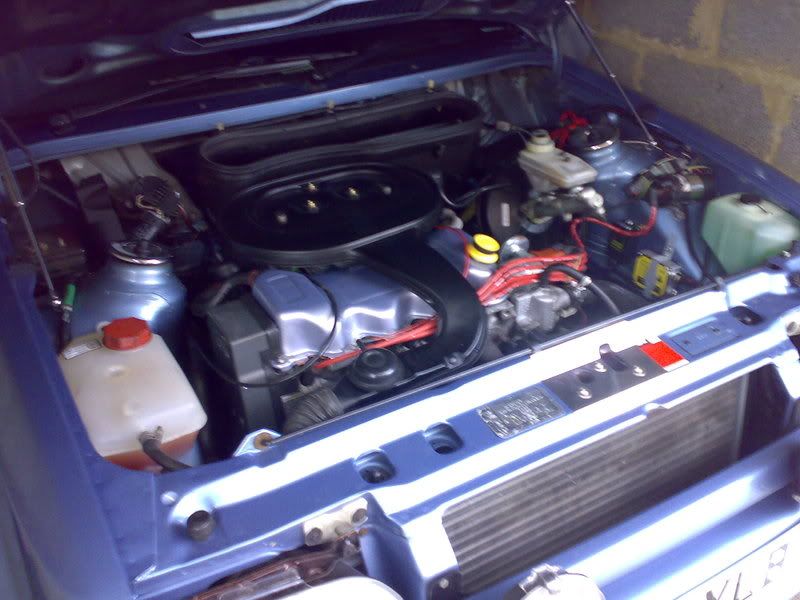
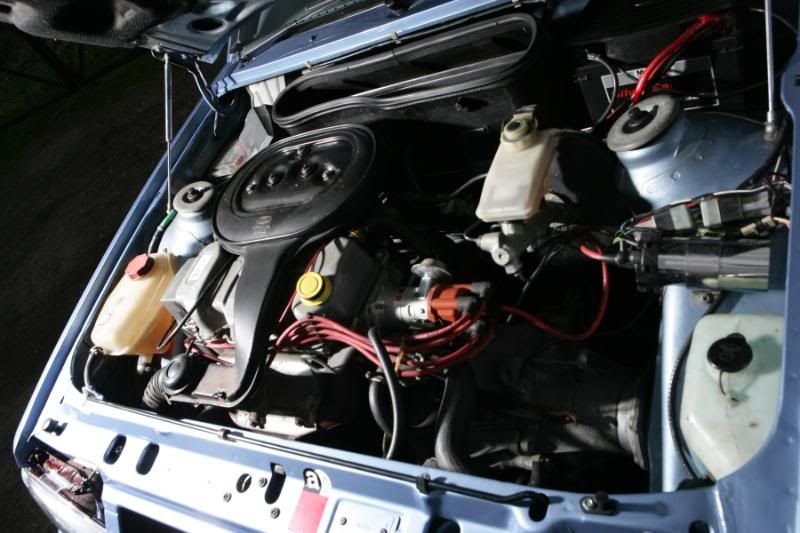
And a few pics of it in the engine bay
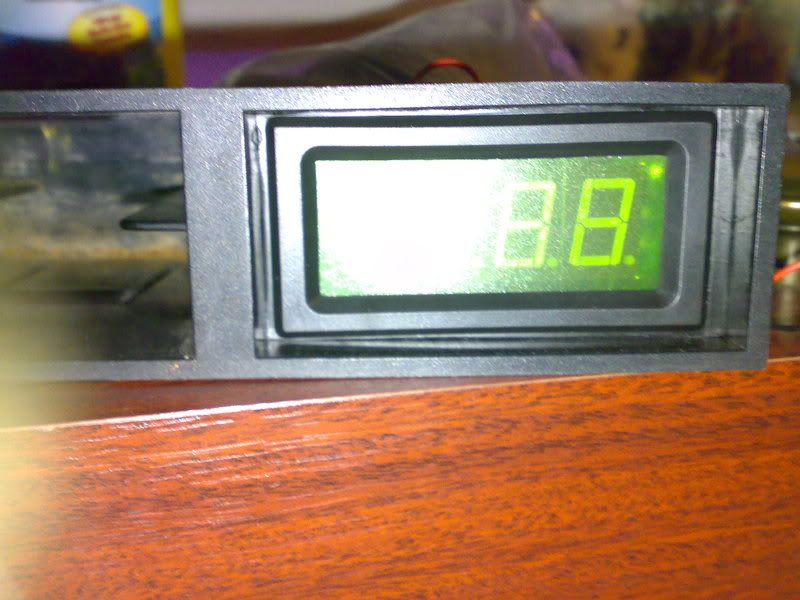
Latest development has been to put a digital volt meter in the console.
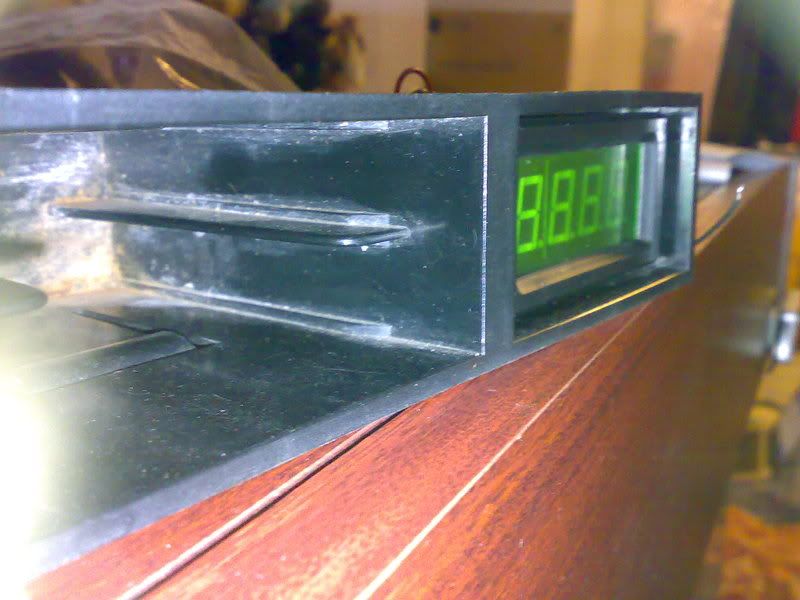
For this, I basically took a cassette holder insert that goes in the bottom of the centre console which is pretty much redundant as the car has no facility for cassettes to be played.
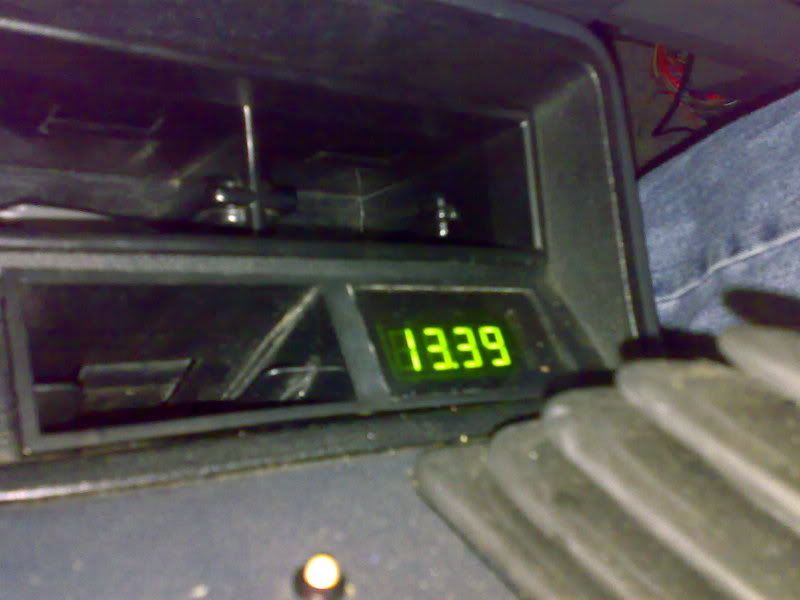
Once removed, the back of the unit was cut away to allow access for cables, etc... to pass through. A spare number plate front perspex was then destroyed to make a template which fits inside the remaining aperture. This was cut down with a dremel tool using a cutter wheel until the gauge fitted.
Once cut down, it was then sprayed with a satin-finish paint and left to bake dry for 5 minutes. The template was then bonded into place. It was recessed to allow a finishing plate to go over the top afterwards.
Next was onto the outer cover. This was another piece of perspex, again cut to size to fit into the cassette holder. This time, however, the piece was made just under 1mm bigger so as to be a tight fit in the gap. This is because there will be no bonding as it would be seen.
The reverse of the perspex was then coated in a tinting spray and left to dry. This is done to make the gauge less visible, as well as dulling down the display slightly as there is no brightness control. Left @ its normal brightness, it would over-illuminate the inside of the vehicle @ night.
Some pictures of it all fitted and working.
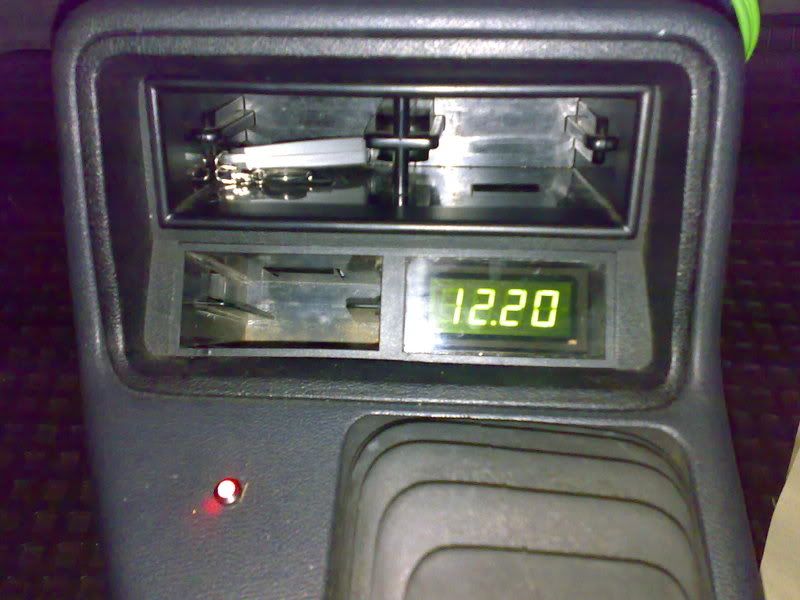
That is basically it for now. There have been some other modifications and adjustments throughout the time I have had it. Things like HID headlamps, Spax springs, heated seats and a basic sound system for example.
Things for 2009 which are already in the pipeline....
I want to replace the brake hoses with Goodridge stainless steel ones with a black finish, remove and refurbish the 260mm front calipers, including repainting, blast and repaint the rear drums and sort a few more engine pieces out. If I get time, I will also be converting the headlamps to electric-levelling as well.
Hope you like it so far.
-
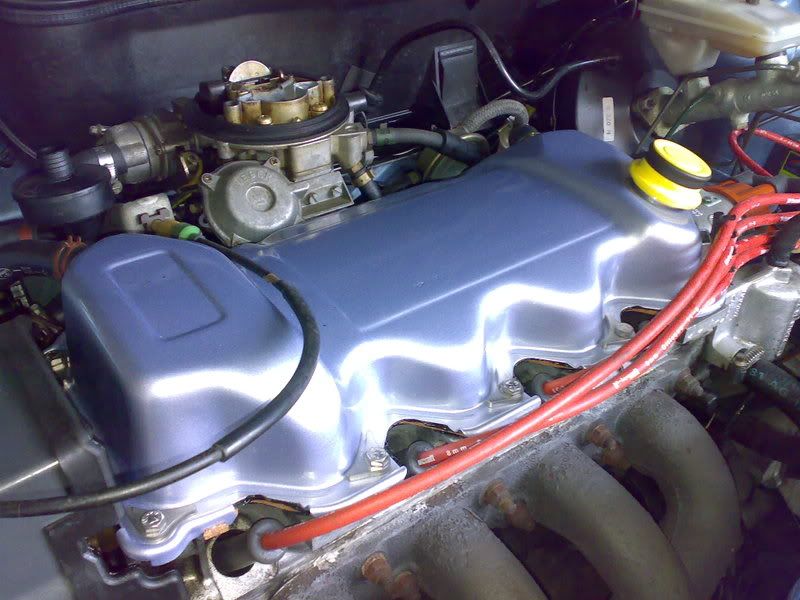
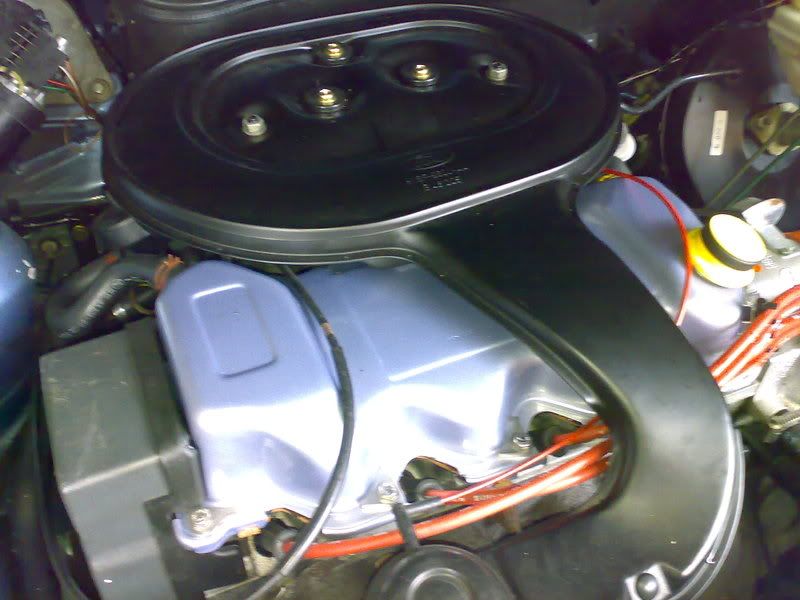
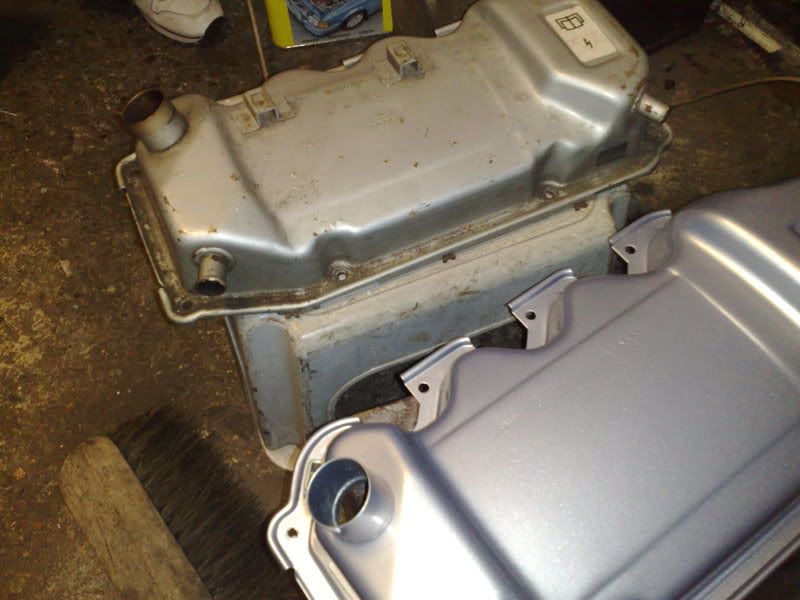
Rocker cover is next.
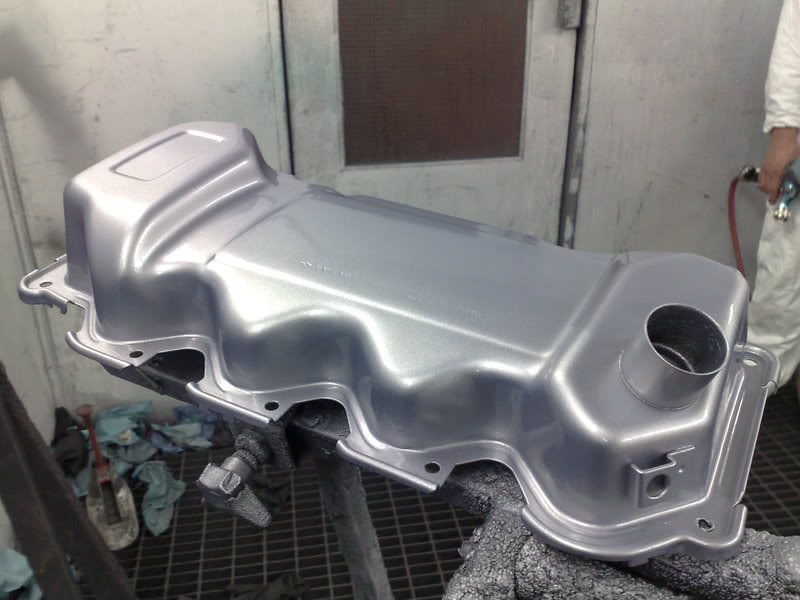
Started off with a spare rocker cover I had lying around. I spent some time removing the rust from it and, once derusted, had the whole thing 2k primed in work.
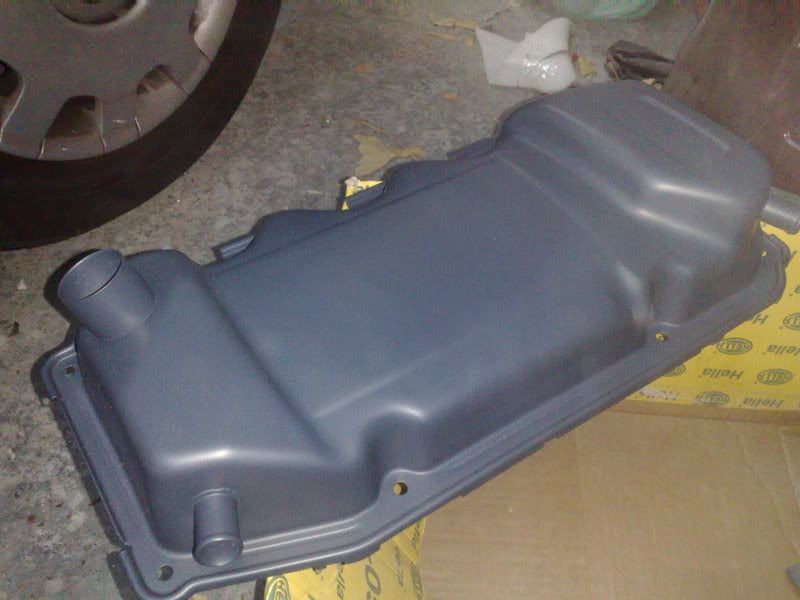
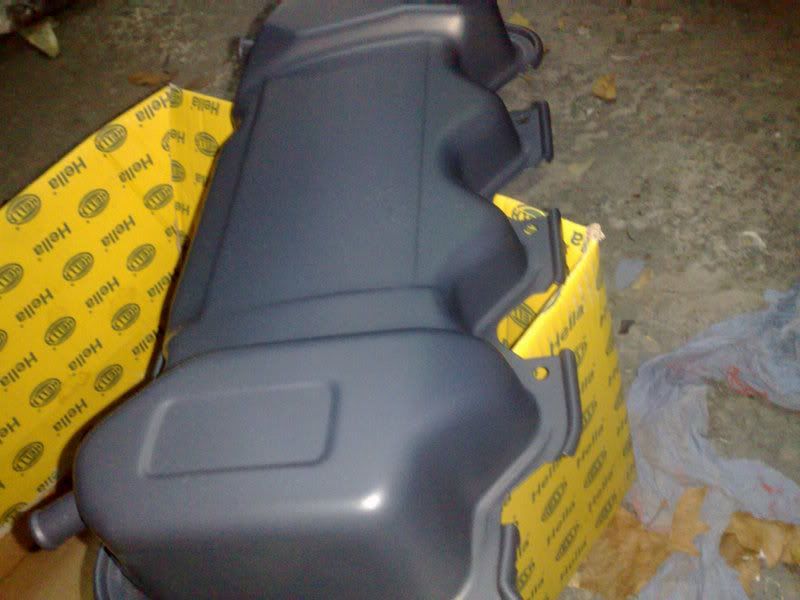
This was then painted in Ford Ice Silver
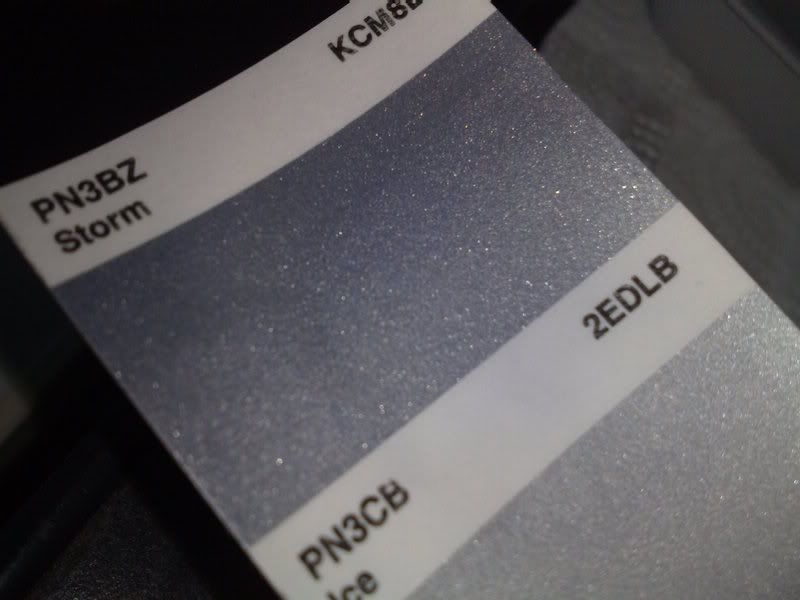
I had debated with White Silver

or Street Silver
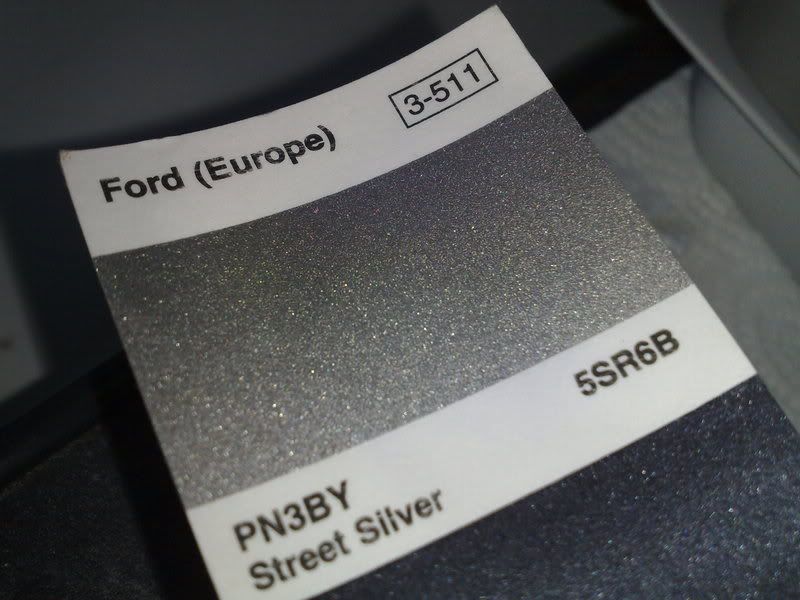
previously, but felt that this was the best colour to repaint in. It is similar to the original, but different enough.
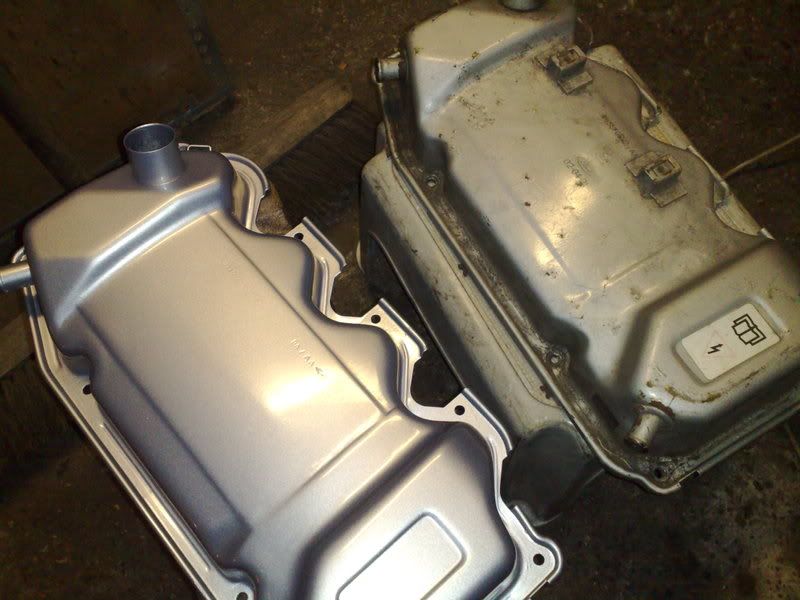
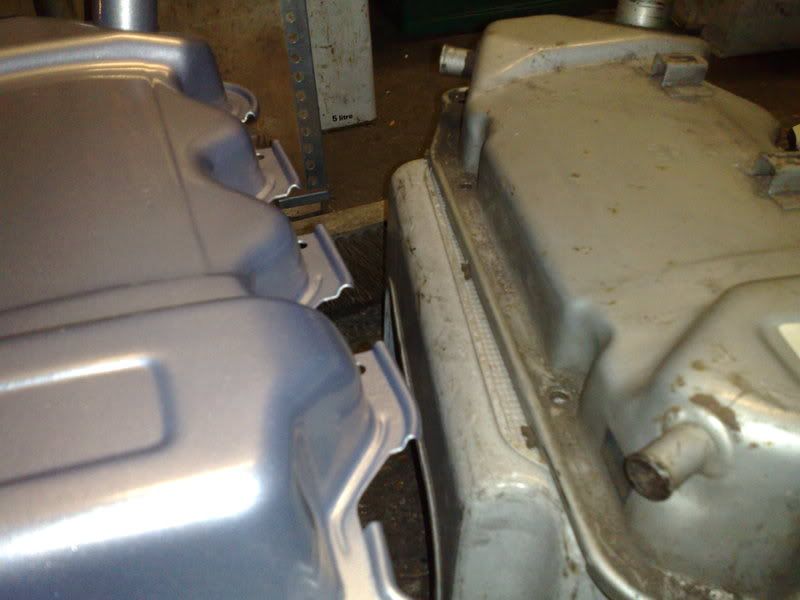
A few coats of paint later
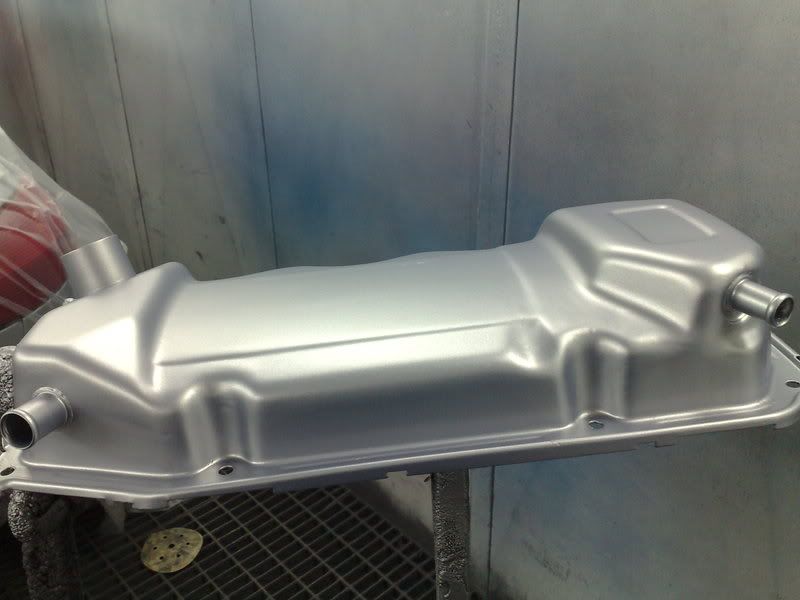
... and comparing it to an original
-
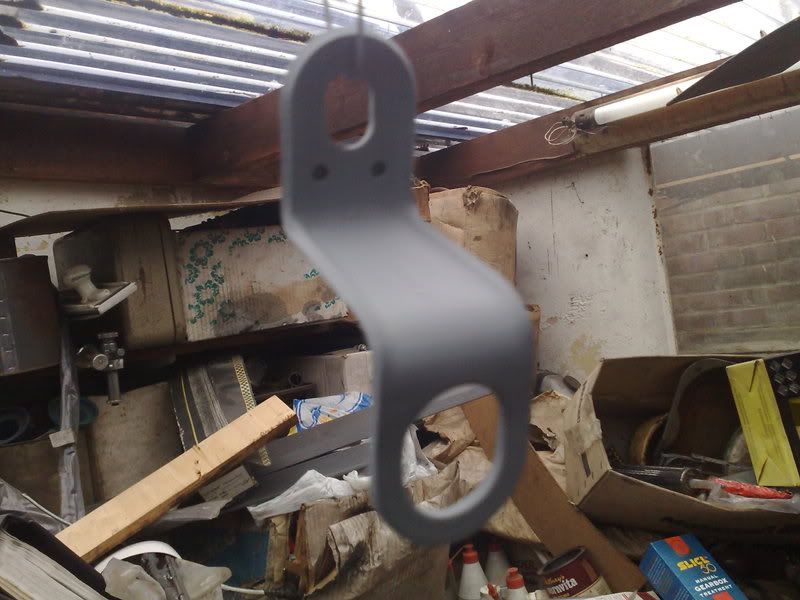
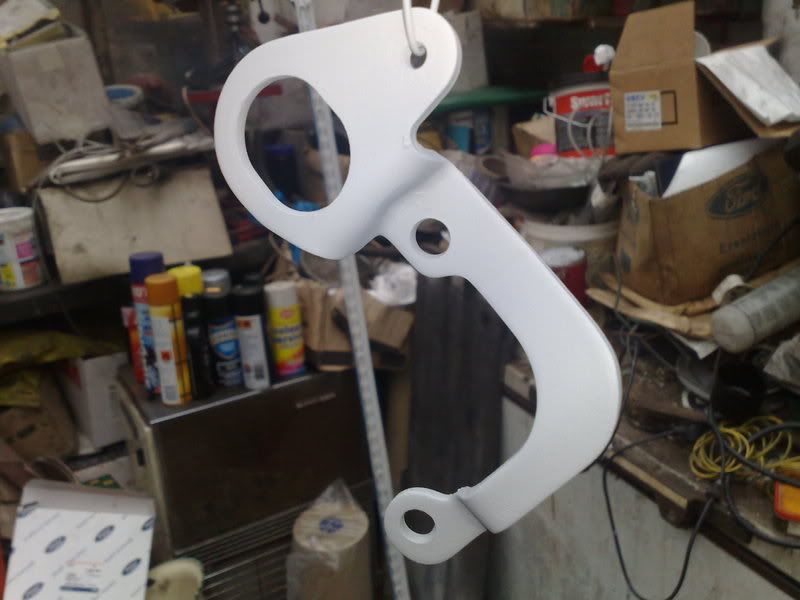
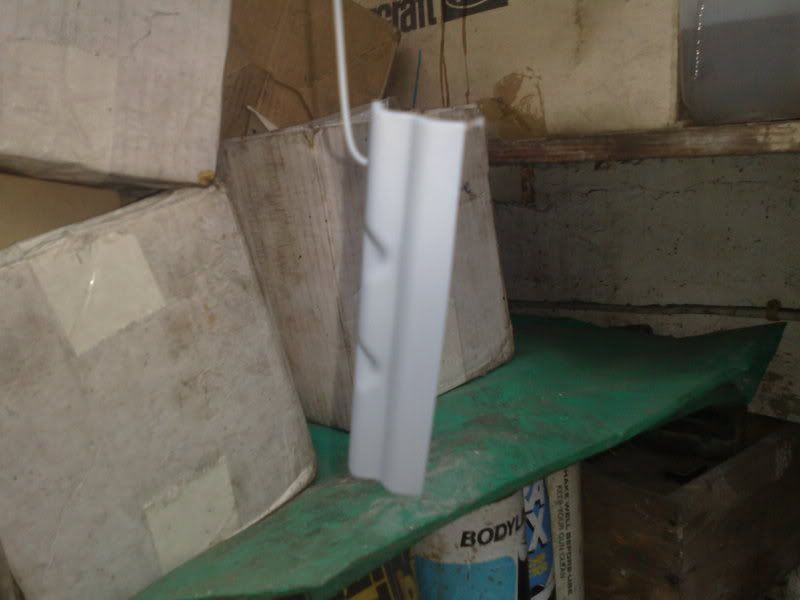
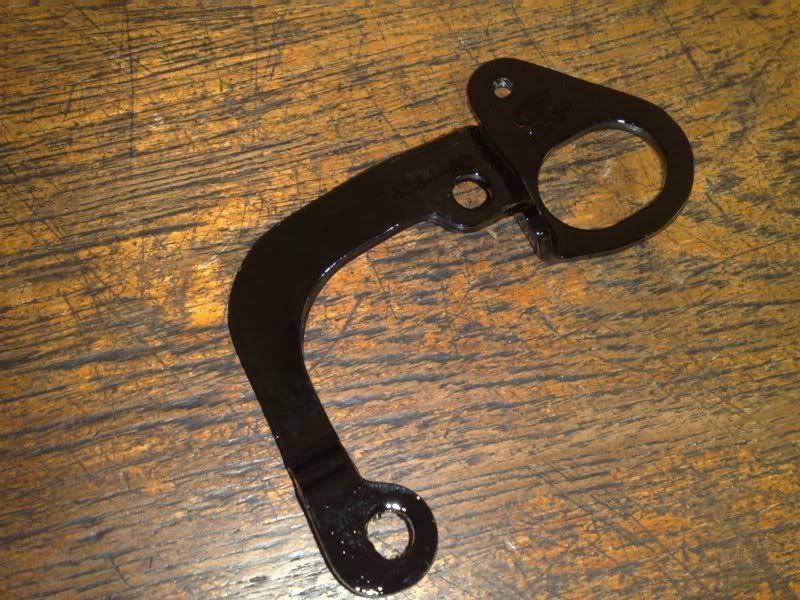
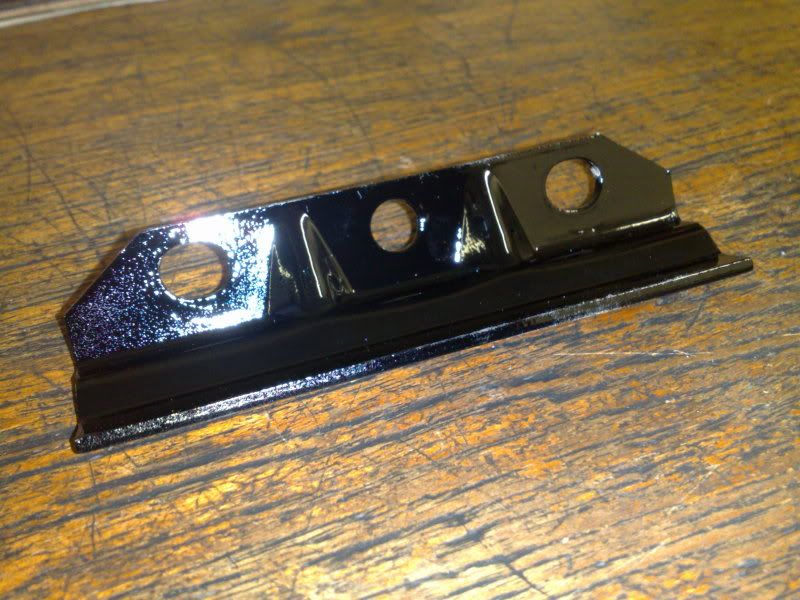
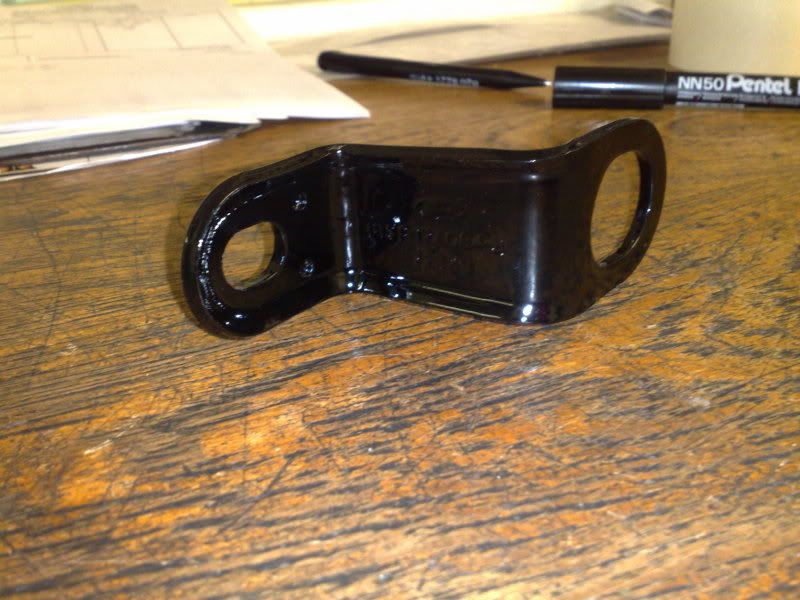
Next was one of the more recent additions, the engine bay detailing.
I have removed all the engine lifting eyes and battery clamps. These have been blasted back, etch-primed and painted in coach enamel.
-
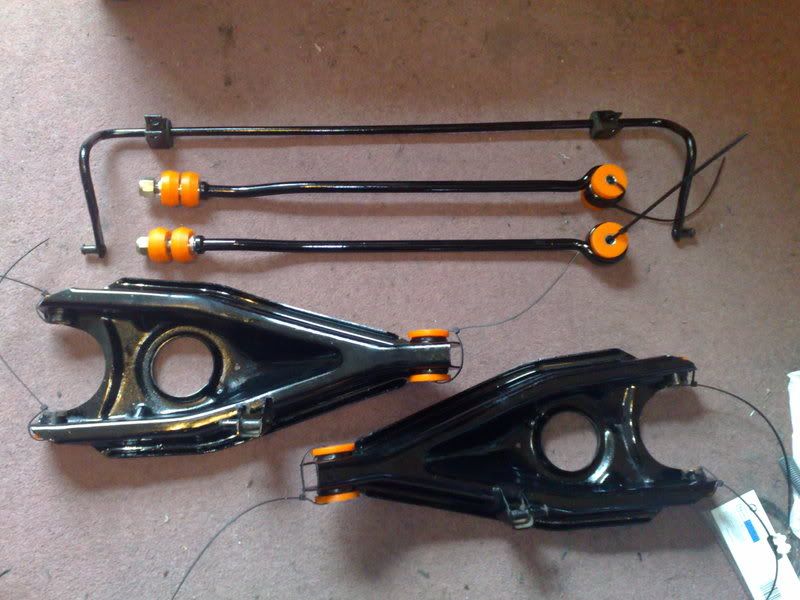
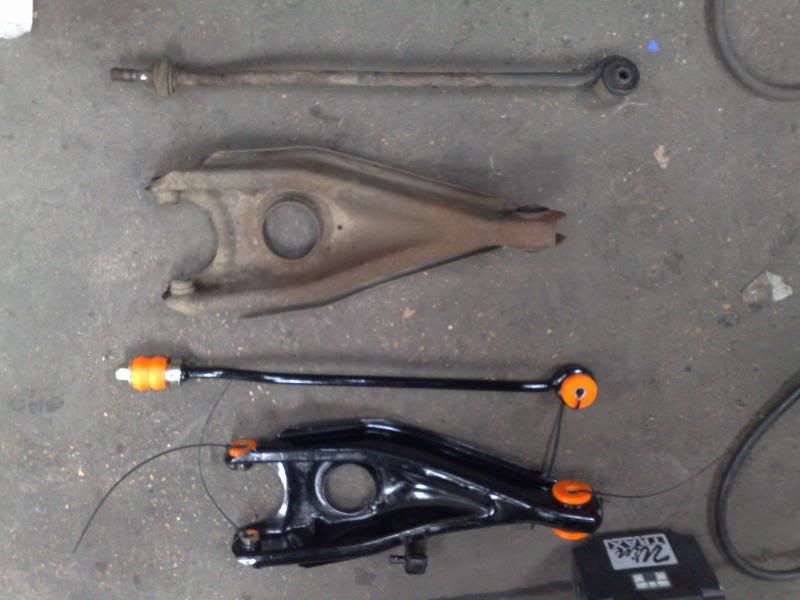
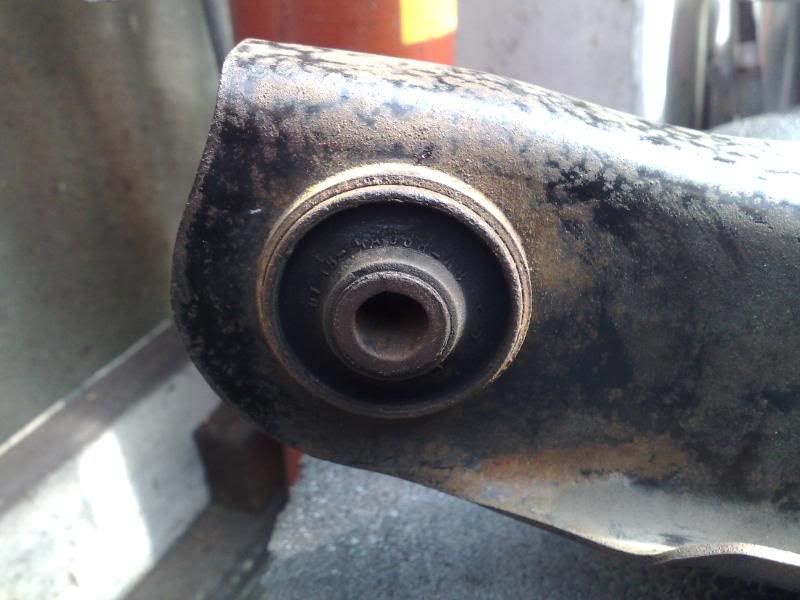
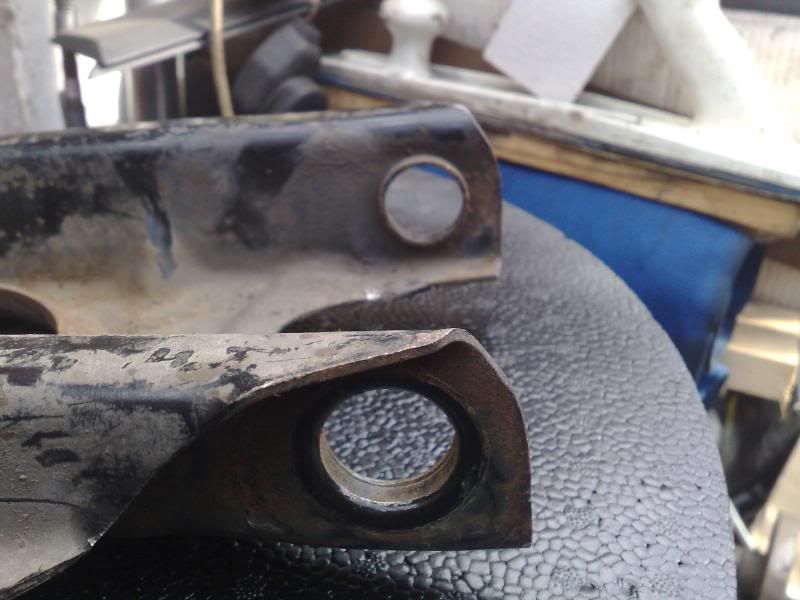
All the bushes other than the anti-roll bar bushes were changed for polyurethane replacements.

And how it all looked afterwards.
Next was the fitting of it all. For this, I decided to take the car into work and make use of the 4-post ramp and the digital laser alignment machinery.
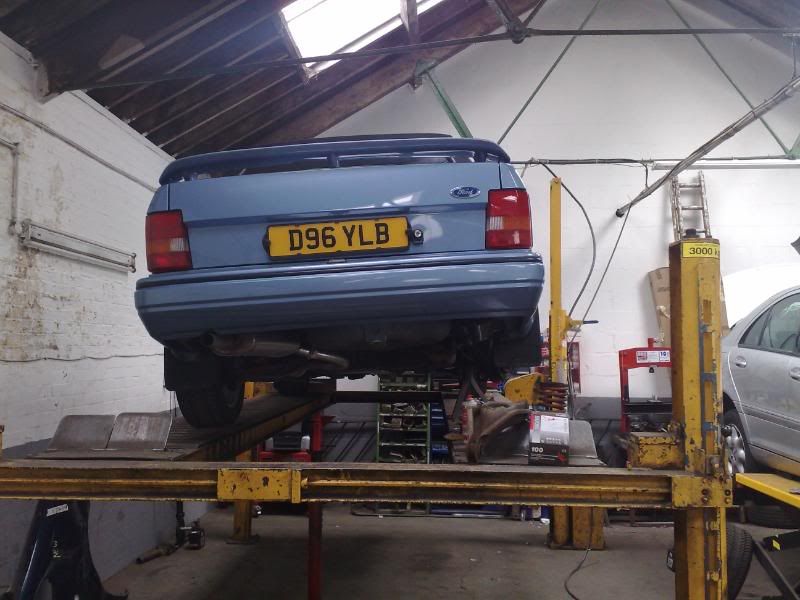
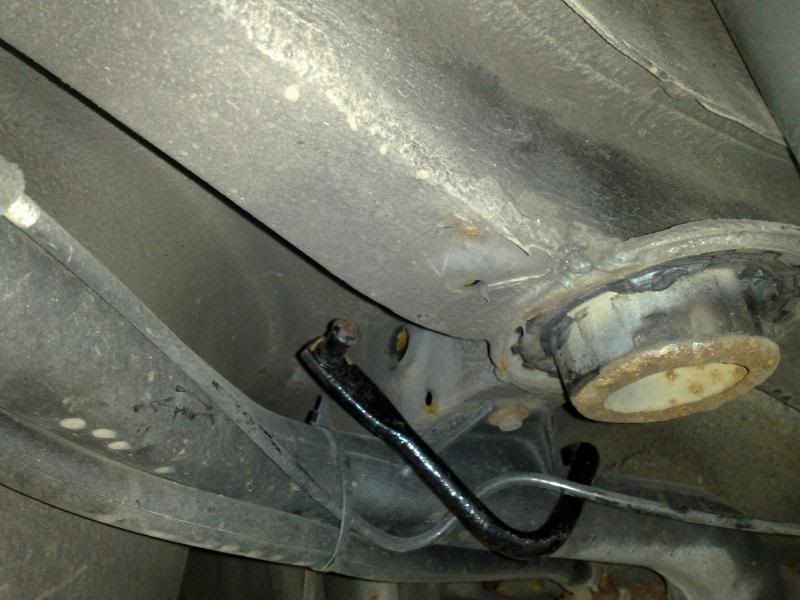
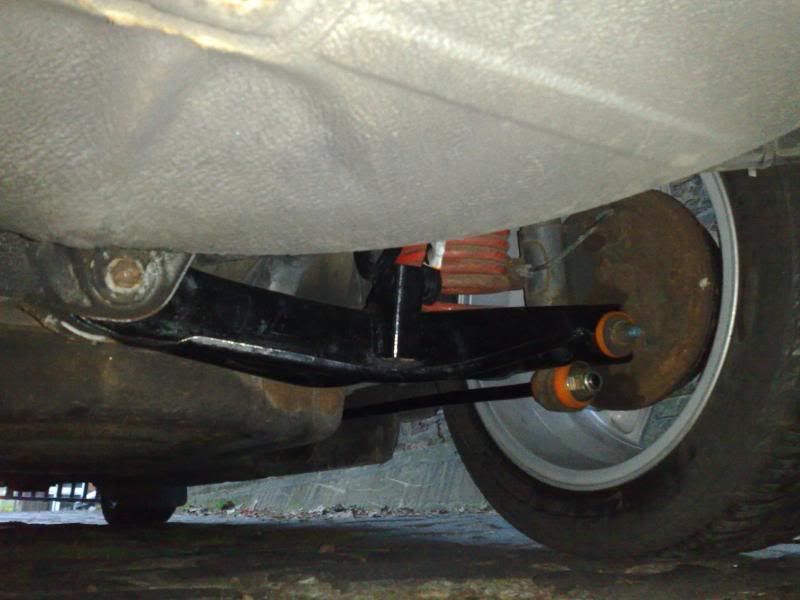
A few attempts later, along with the addition of washers on the trailing arms where applicable, the whole rear end was aligned to factory specifications.
-
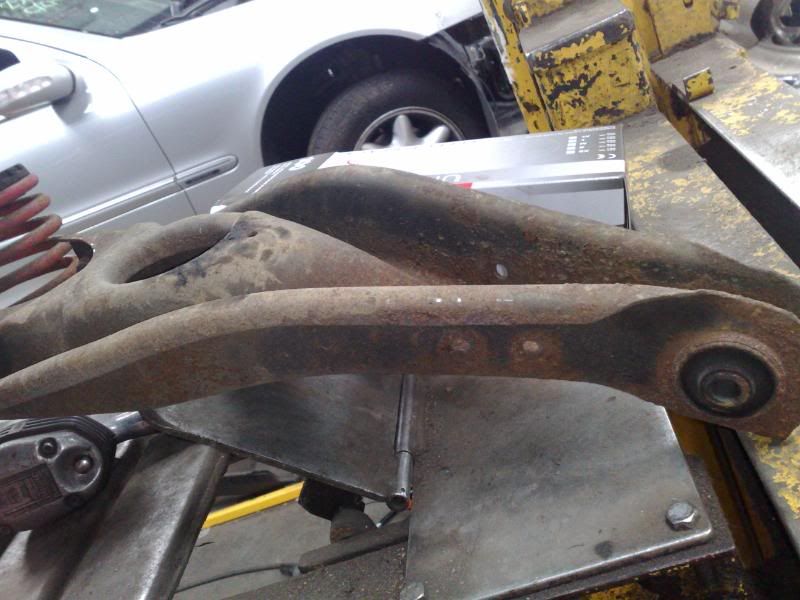
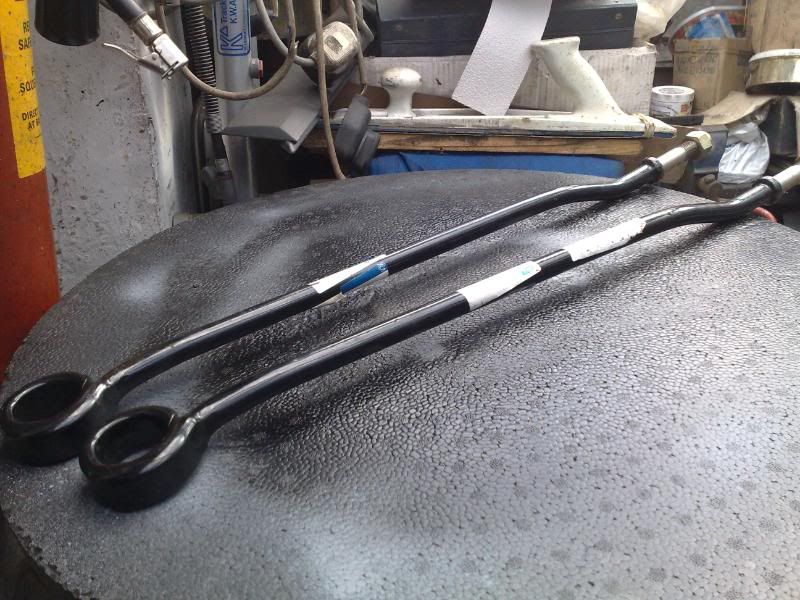
Next was the rear suspension. It was all original other than the springs and shocks, which had been changed soon after getting the car.
I happened to have lying in the garage, a complete rear setup from an Escort RS Turbo S1, so thought that it would be rude not to use it.
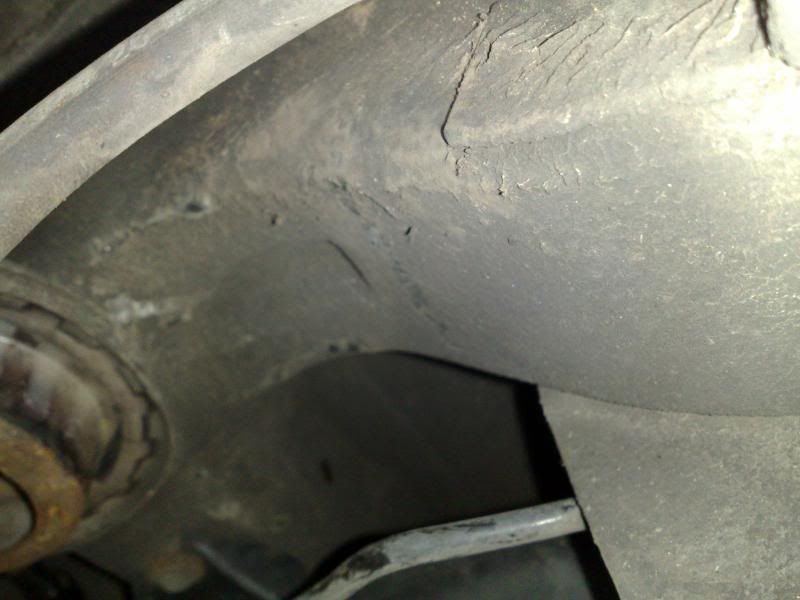
It was all taken back to bare metal and then painted in coach enamel.
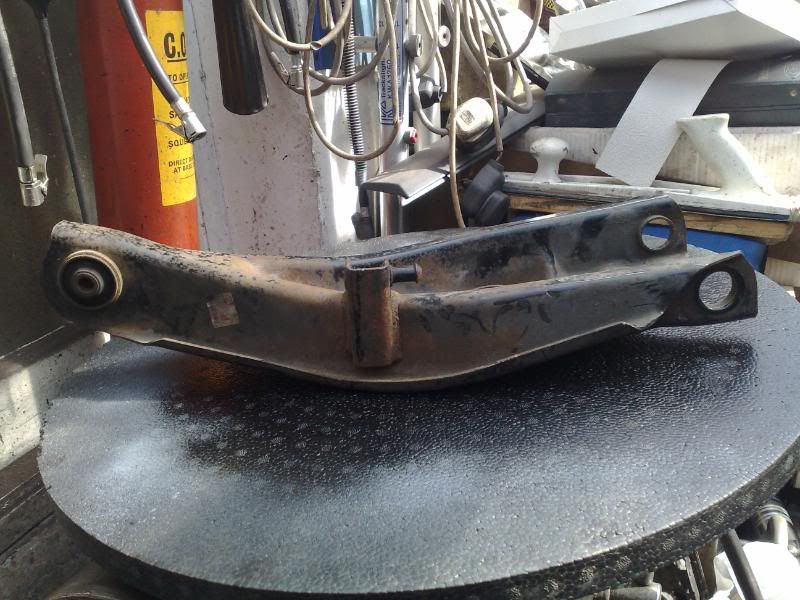
New rear trailing arms
-
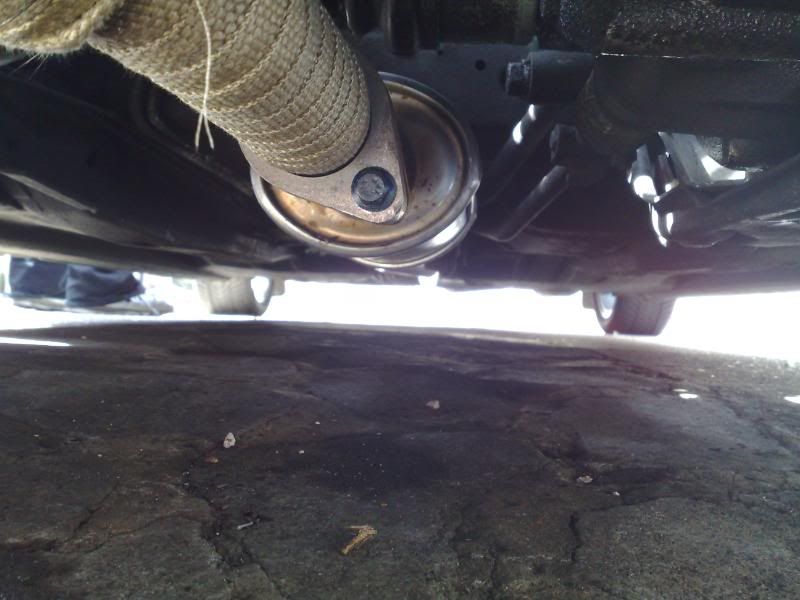
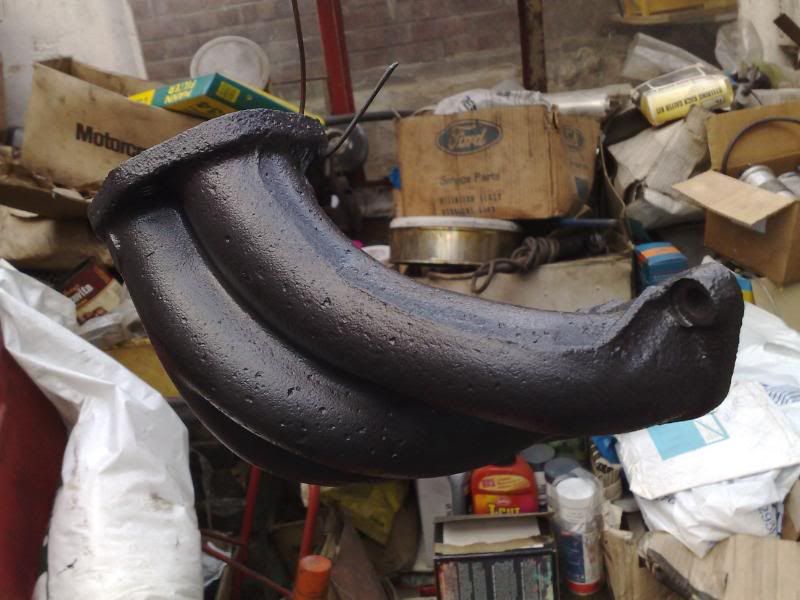
A brand new downpipe was given the same treatment and then wrapped in Thermo-Tec exhaust wrap.

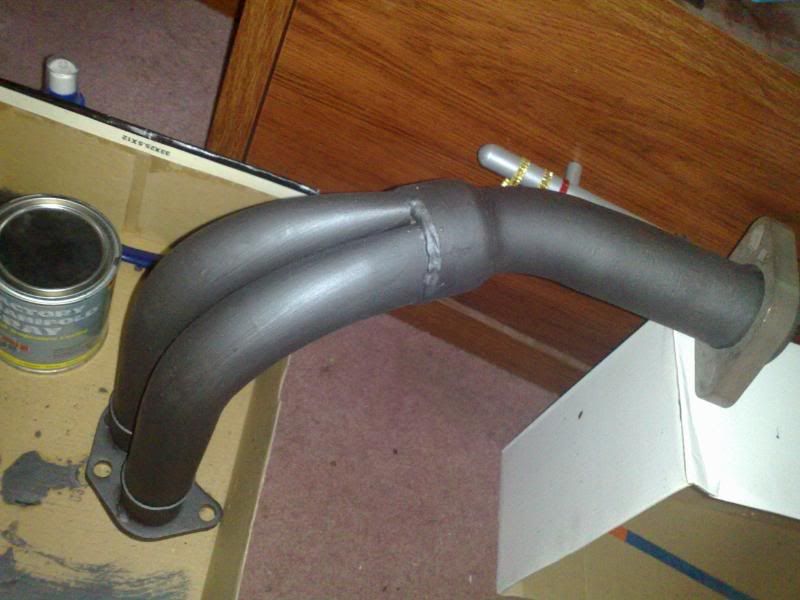
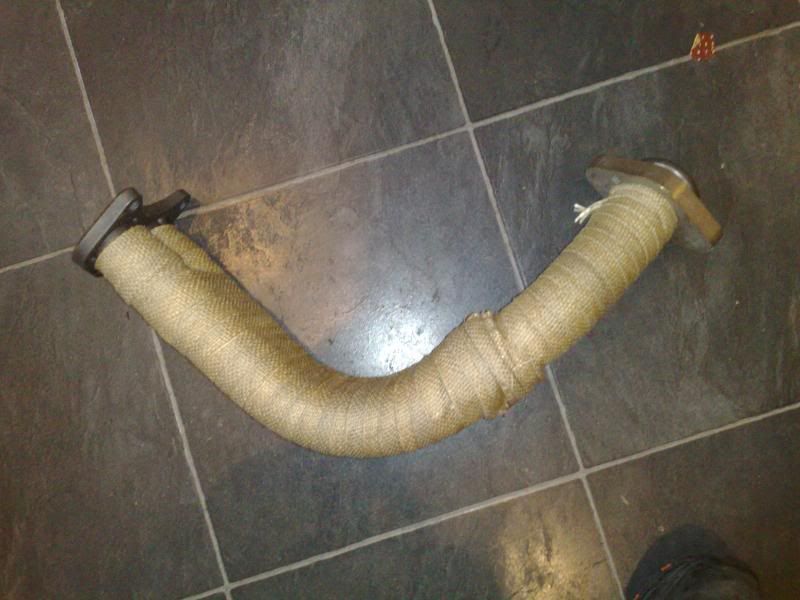
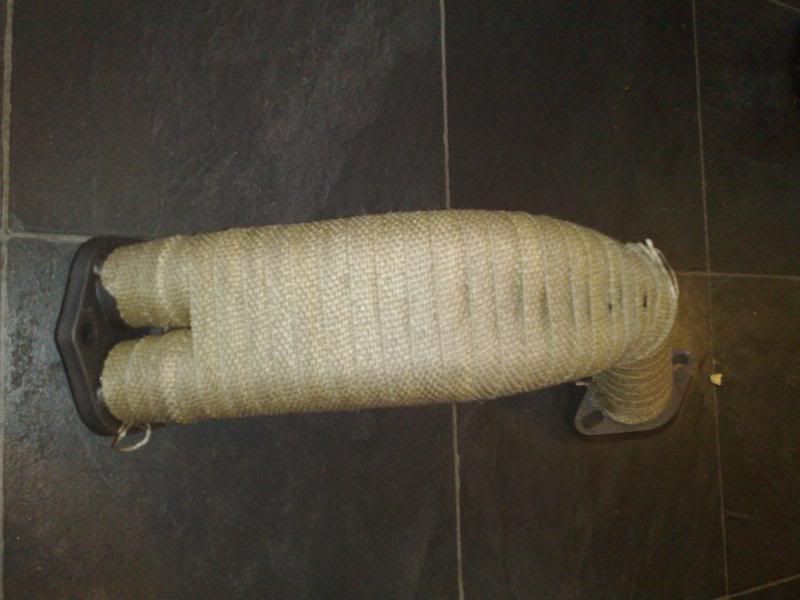
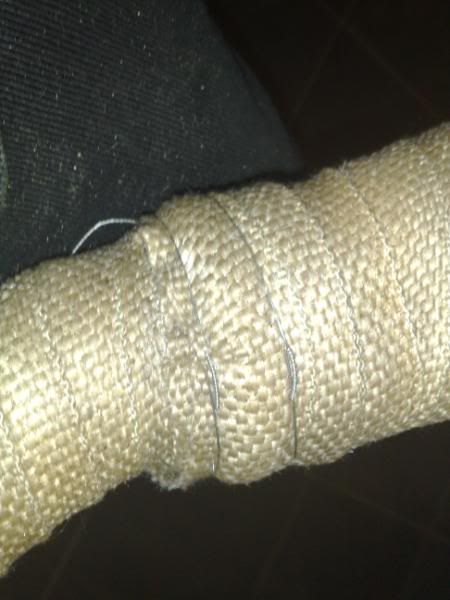
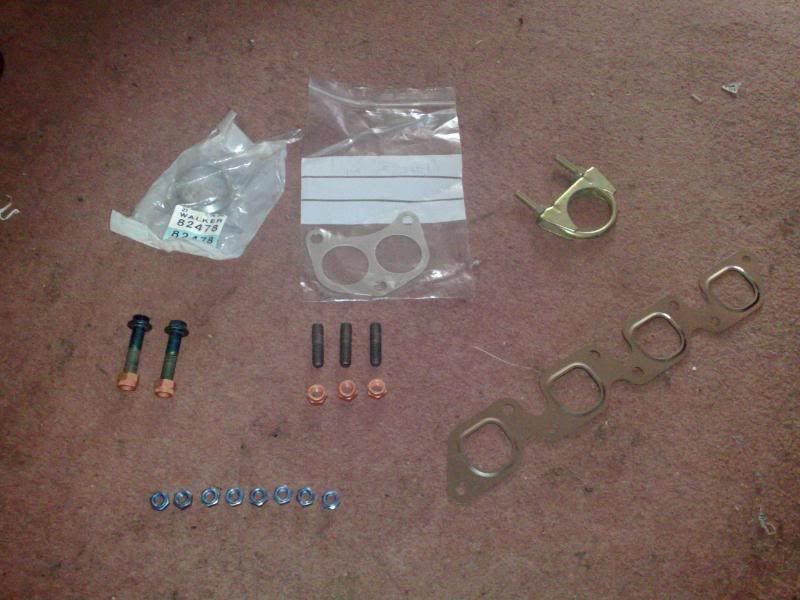
This was then all fitted onto the car using genuine Ford fittings.
-
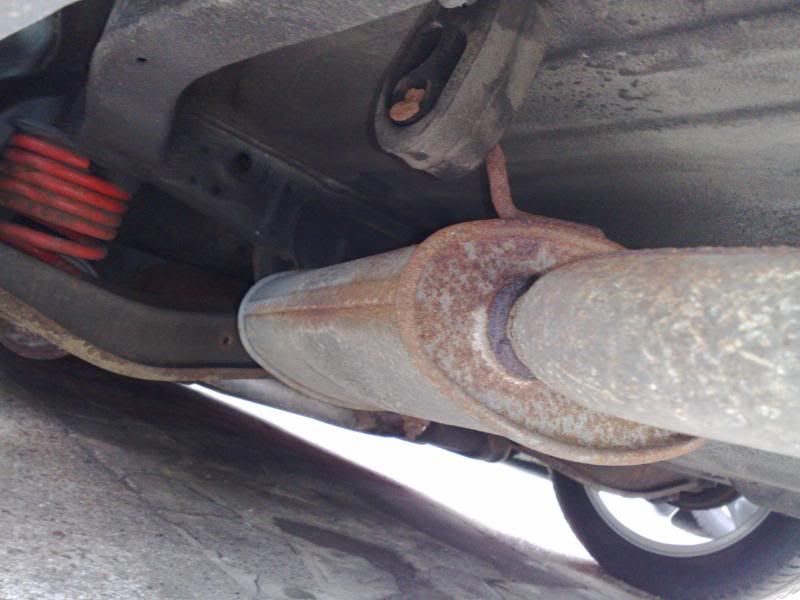
Next was the exhaust.
How it looked by this point in its life
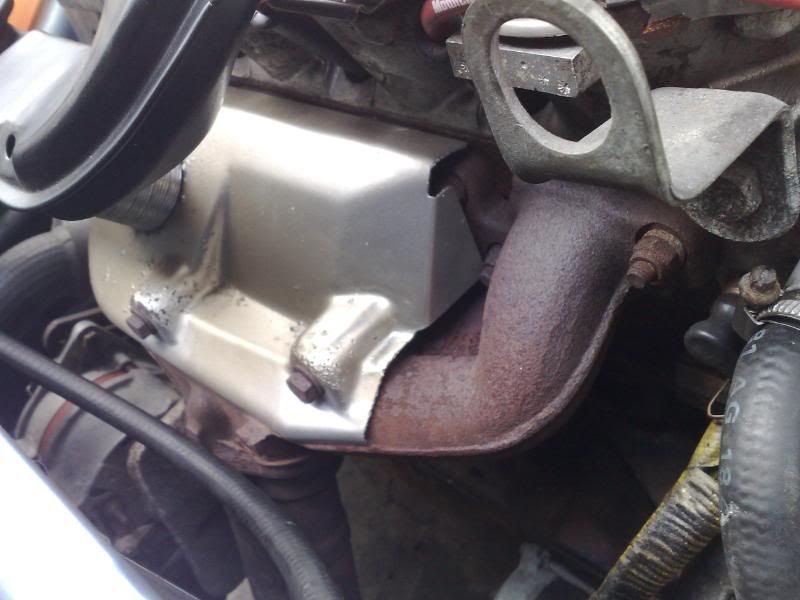
A nice cracked manifold
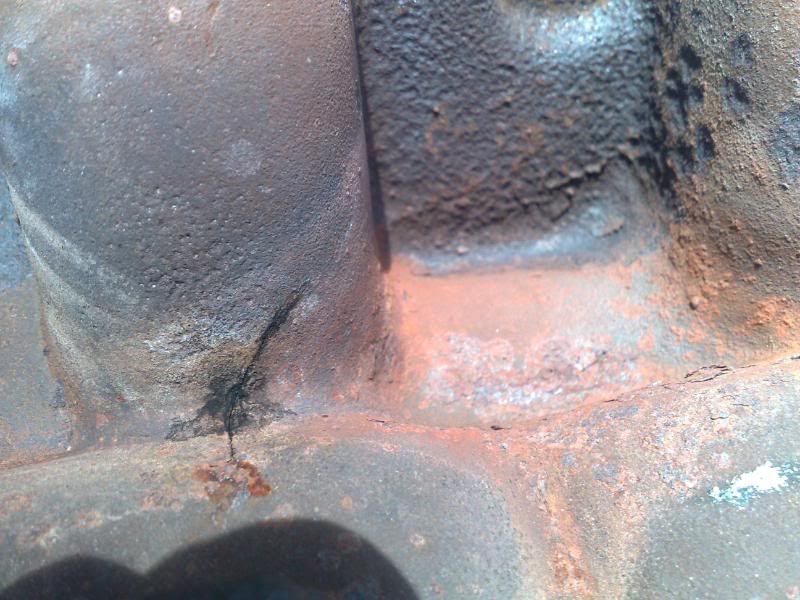
It soon ended up on the floor away from the car though
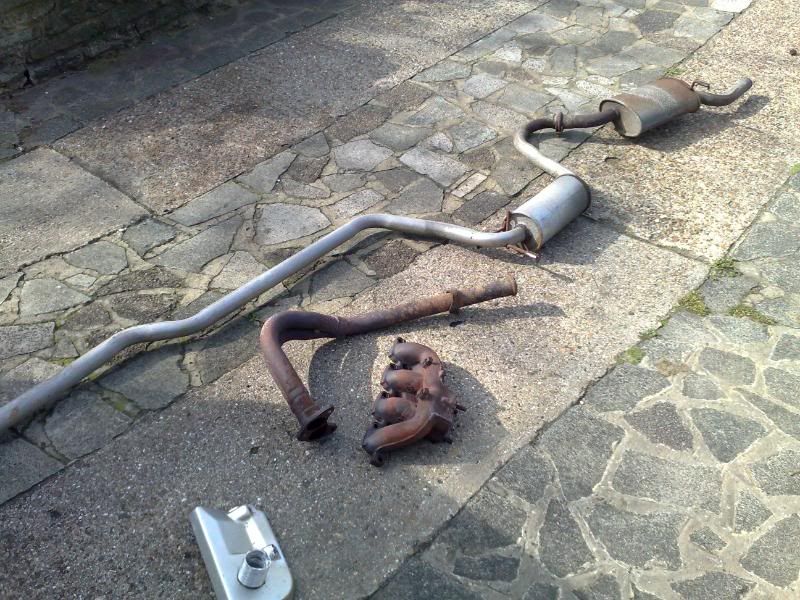
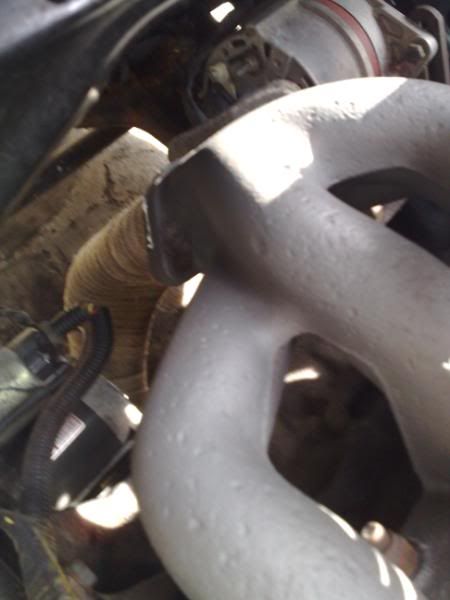
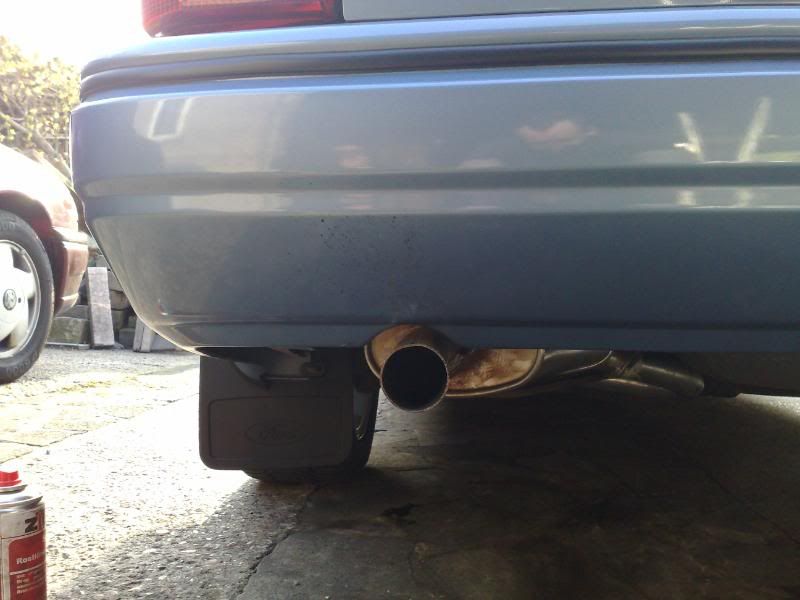
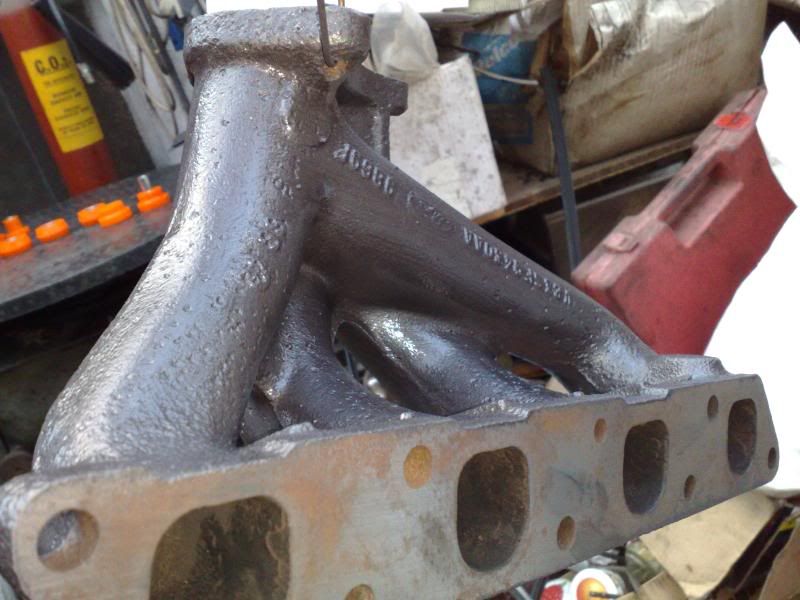
To replace it was an MFi XR3i exhaust system.
The standard XR3i manifold was cleaned back to bare and then treated with a high-temperature paint used in motorsport


-
How it looked then (photos courtesy of Fast Ford):

Then, in April 2008, I decided that something needed to be done as things were starting to naturally get a little tired.
-
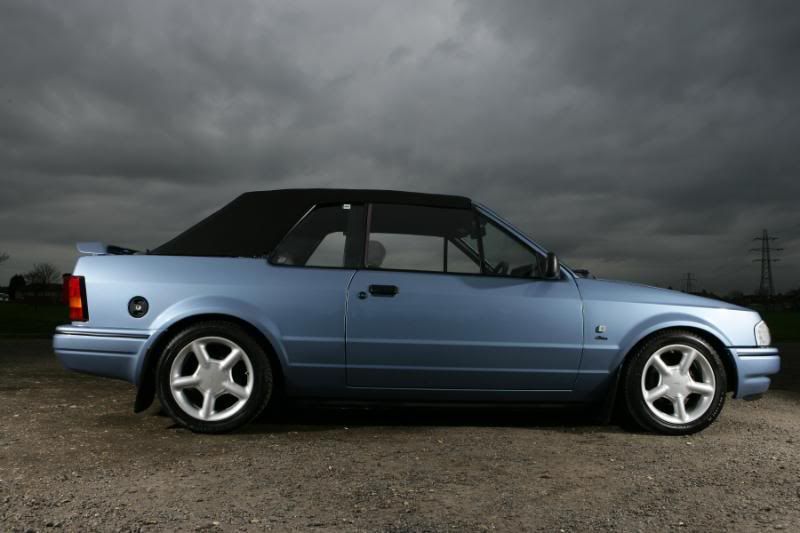
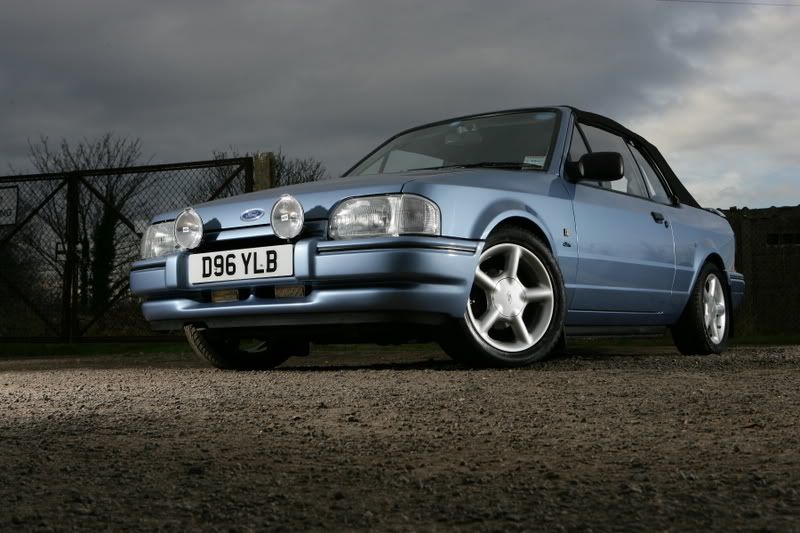
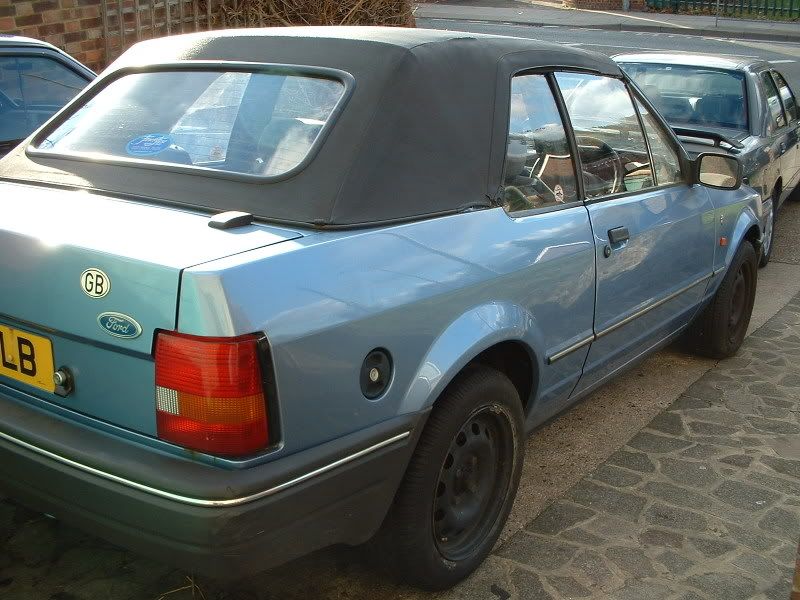
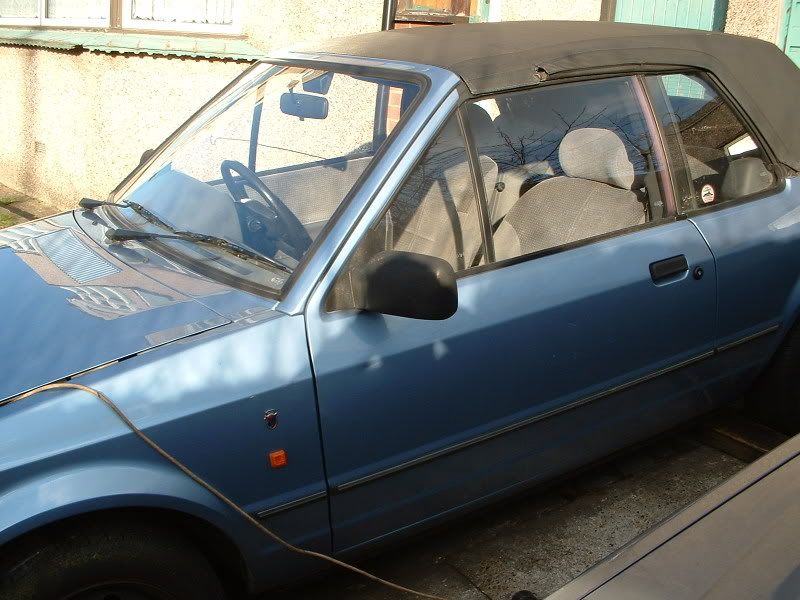
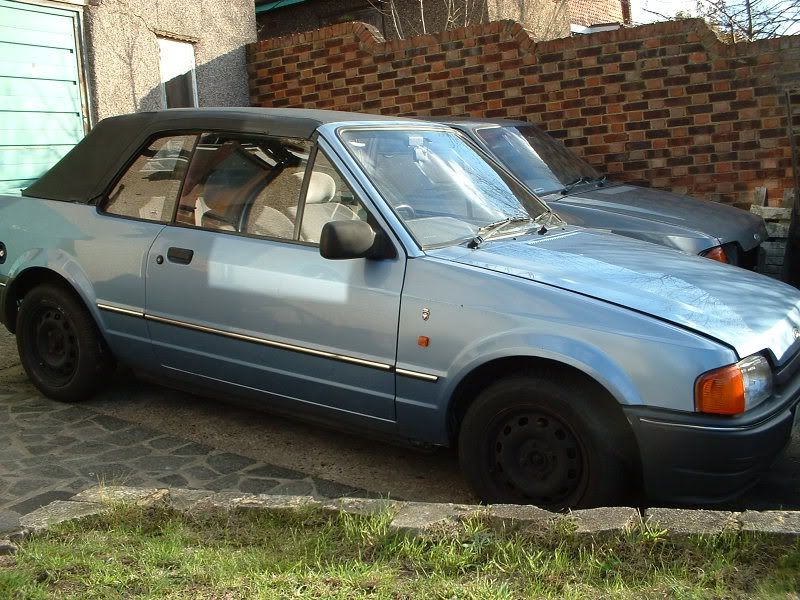
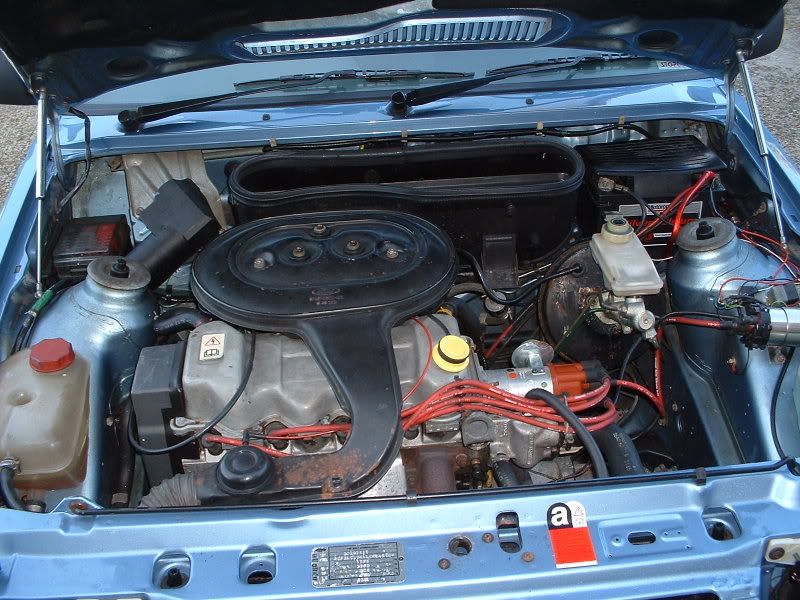
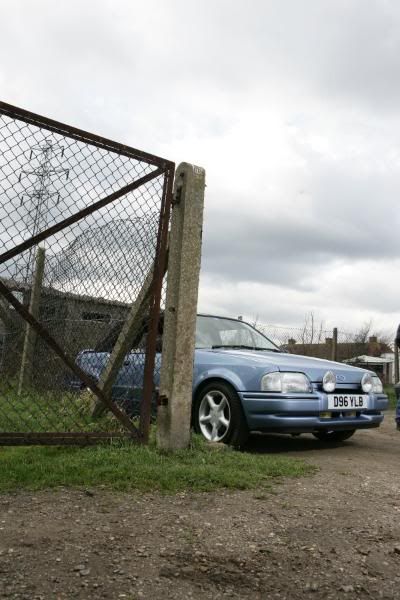
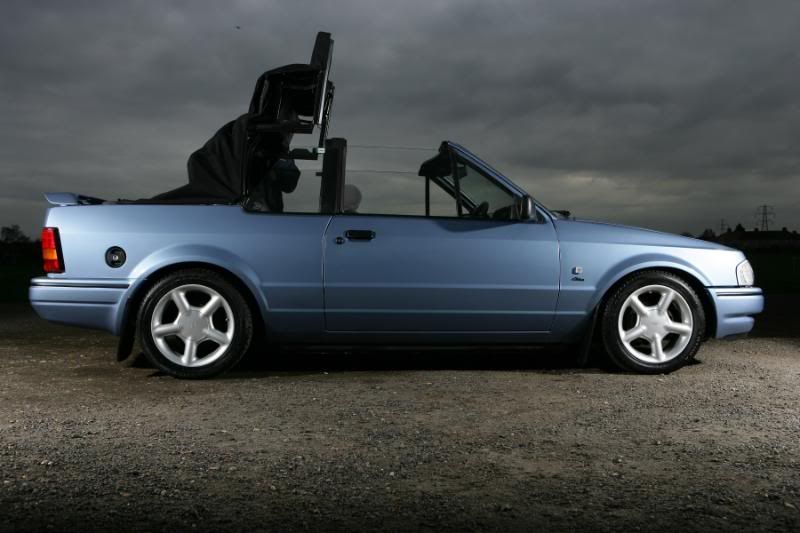
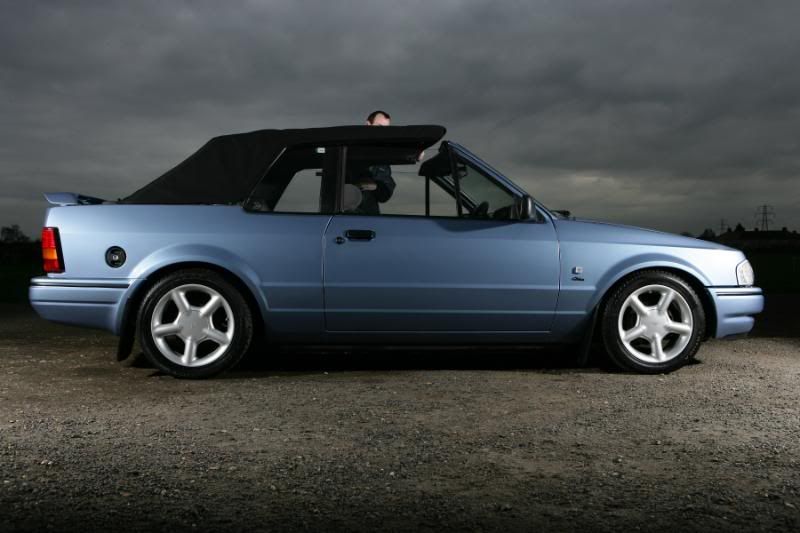
Well, I do not know if I ever put up a set of proper pics/work in progress of my Cabby, but I might as well start again.
When I originally got it:
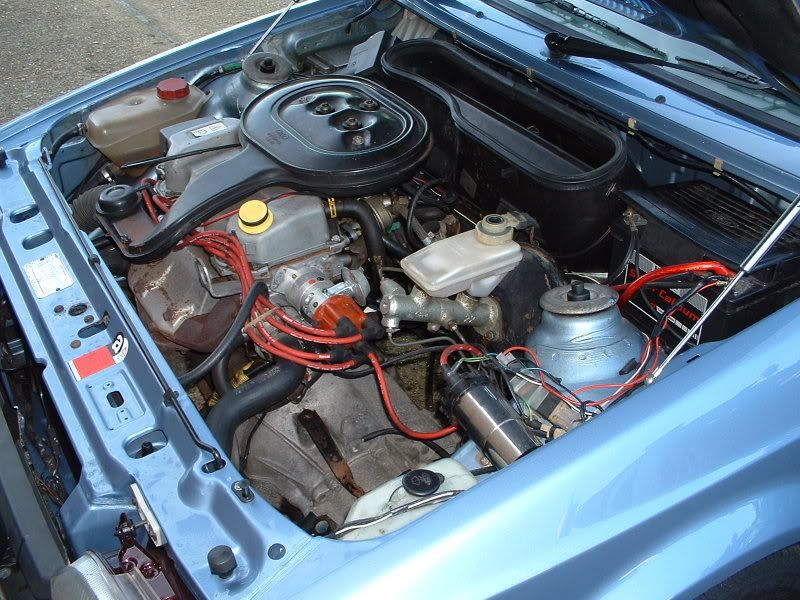
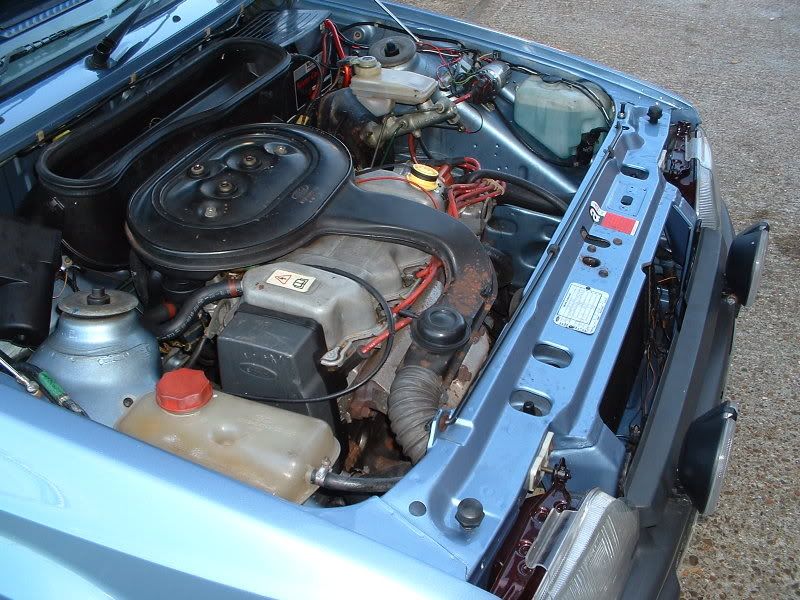
Engine bay originally:
Soon afterwards, I decided that, as I had a load of "New Old Stock"genuine Ford panels in the loft, I might as well put them to some use.
This took the form of basically cutting off the front wings, front panel and scuttle and replacing with new. All that was actually wrong was the drivers wing was a pattern part which had been fitted incorrectly and then rattle-can sprayed with no lacquer. You could see mig-welds and all sorts, which were not how I wanted the car to look. All the tops of the inner wings were replaced, everything spot-welded into place as per the original manufacture and seam-sealed to prevent corrosion.
It was then shipped off to a friends' bodyshop to be painted. The original Paris Blue was reapplied using Sikkens Paint. Even to this day, the car still has the paint "as it can from the booth". It has never been cut back or similar.
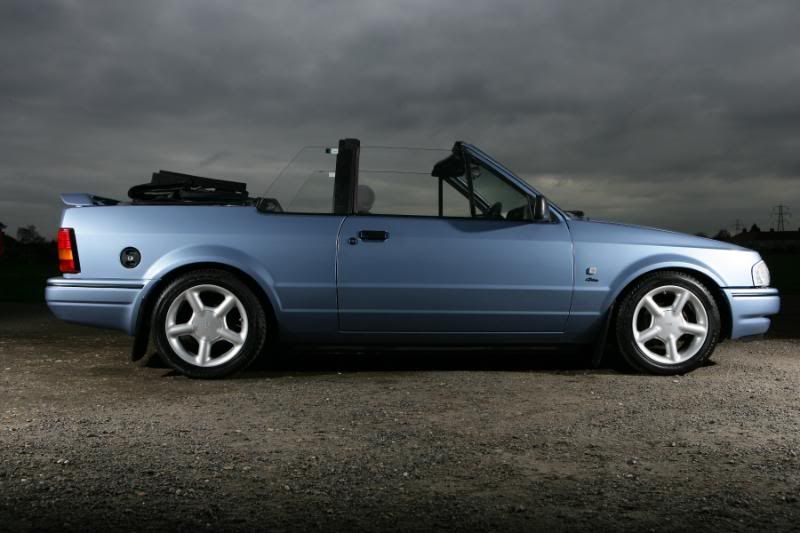
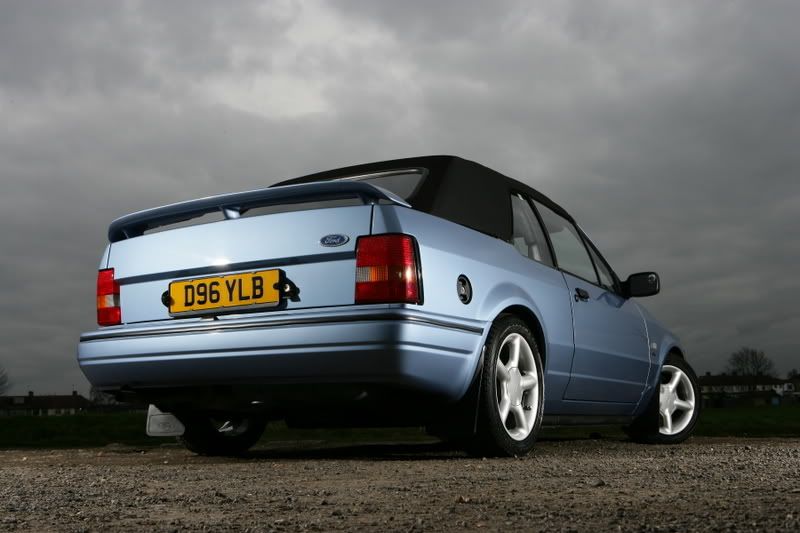
Soon afterwards, a new roof was supplied and fitted. This is a black mohair roof, custom-made and stitched in front of me @ a place called "Soft-Tops" in Knights Hill just outside Croydon town centre. All new wires were fitted and an extra layer of rubber matting and insulation were popped in for good measure. The quality is second-to-none.
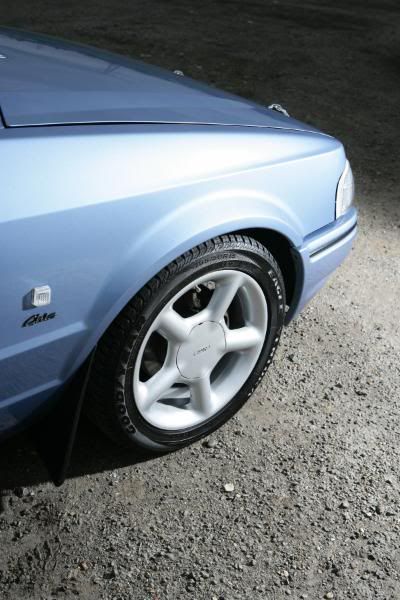
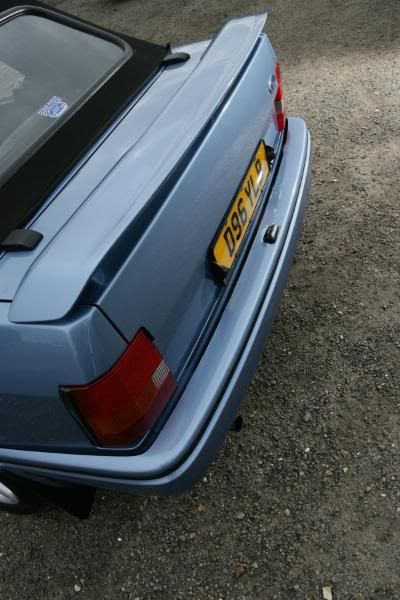
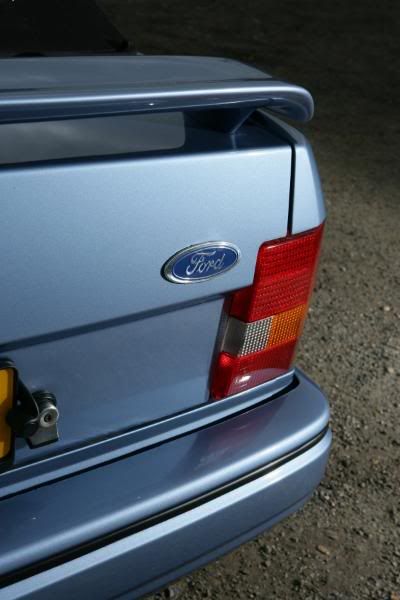
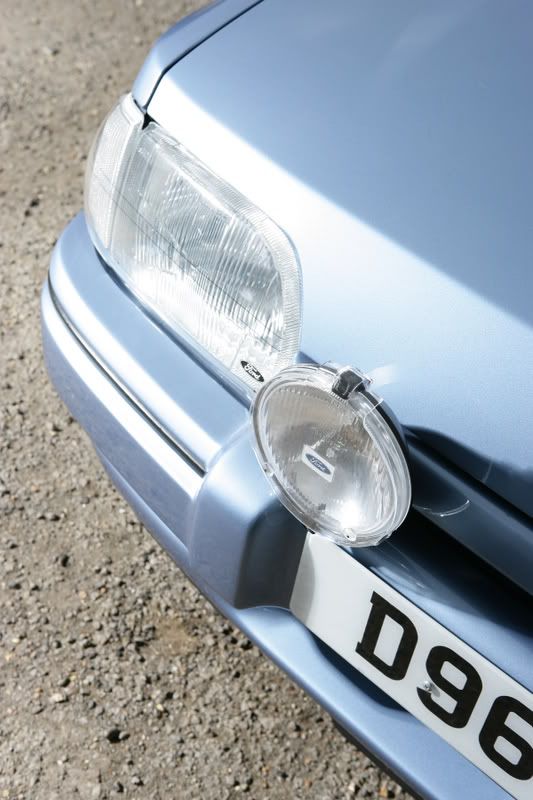
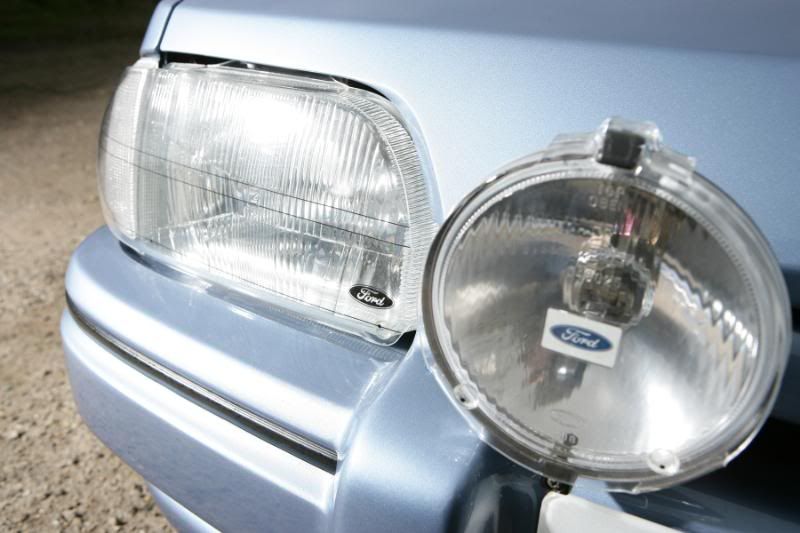
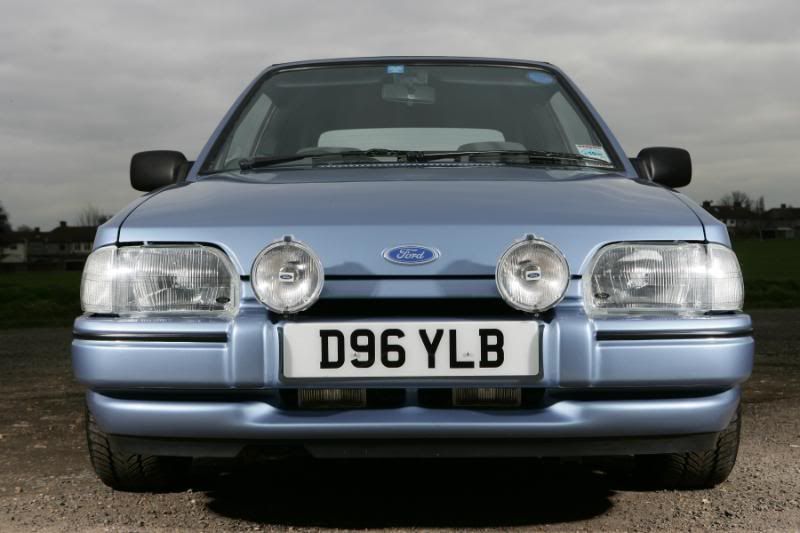
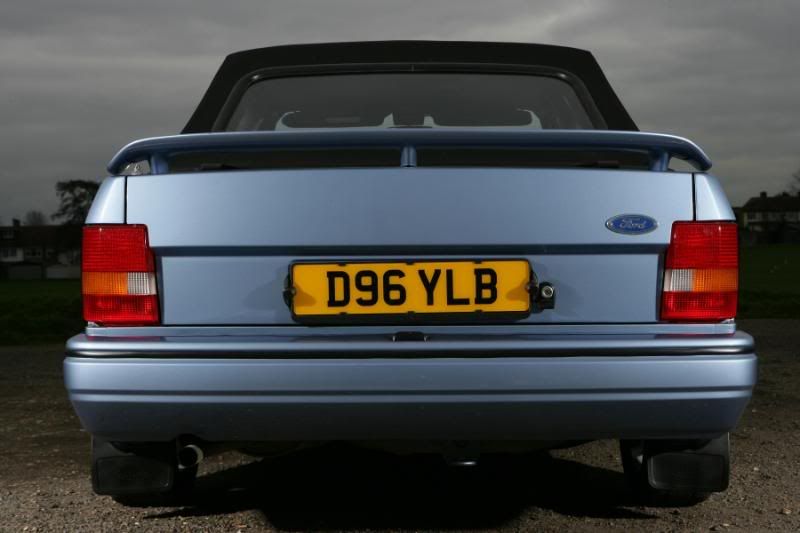
A few electrical items were added throughout the year, including central locking, heated and electric mirrors, heated windscreen, spot lamps, fog lamps, genuine Ford electric aerial and a MK5 Escort 1990-1992 LX/RS rear spoiler. A set of Escort GTi 15" alloys were fitted, converting the original hub flanges to studs in the process so as to correctly fit the wheels without the need for adapters or collets.
The car pretty much carried on like this, including being featured in the April 2006 edition of Fast Ford in the Cabriolet Buying Guide.
-
you have to ground the wire that should go to the neutral switch on an auto. think its green/black.
check the bonnet pin switch is working cos if it thinks the bonnets open it wont start.
also check the earths on your lights. if you've got a dodgy earth on the lights when the remote start flashes the indicators before it trys to start it sees a low pos bleed back through the brake lights and shuts down before anything happens. had this problem on a few escorts.
Or set it to Auto mode and put a microswitch on the gearstick and handbrake like I do so it won't start in gear or with handbrake off.That is the wire you ground via the microswitches.
If it is the bonnet pin switch, it will flash 4 or 5 times (depending on spec of alarm) instead of starting. If it is a back-feed through the rear light circuit (quite common) then it will flash twice, trip the starter (as if you'd flicked the key over quickly) and immediately cut before firing as it does not recognise the brake circuit until cranking commences.
-
Have you let it run through the SmartStart sequence, where you have it running, press one of the buttons (normally the **) before removing ignition key. Get out, lock car and it turns off. Then, when you go back to it, you press the (*) button and it starts.
Or set it to Auto mode and put a microswitch on the gearstick and handbrake like I do so it won't start in gear or with handbrake off.
-
Is the sub box touching the brace at the front of the boot area that the back seat locks onto? If so, try putting some padding between the box and the frame. I've done that as when my one was touching it, all you got was vibrations and rattling as it vibrated thoughout the car. Moved it away slightly and has been fine ever since.....
-
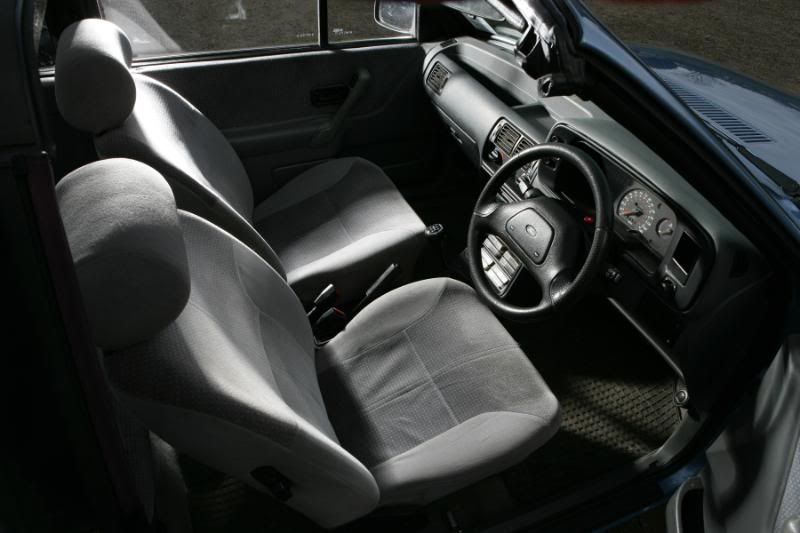
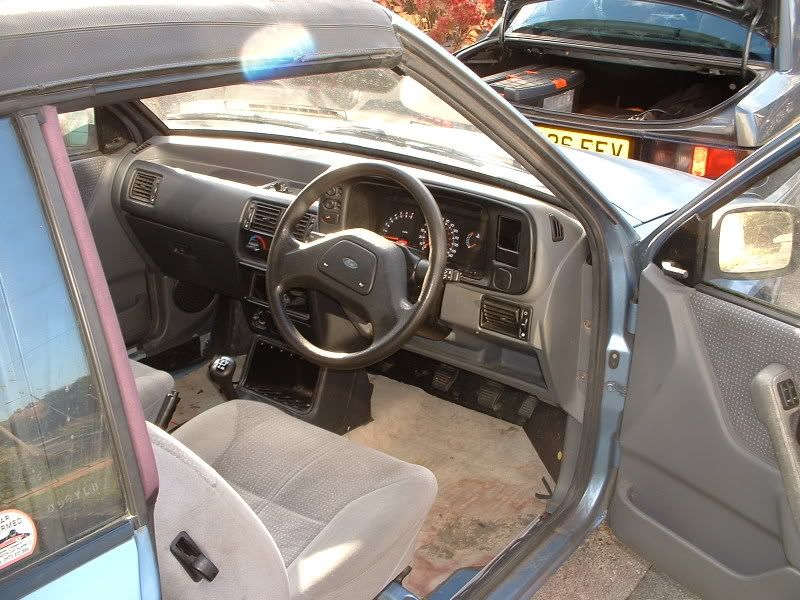
does the escort cosworth centre console fit a standard mk5 dashboard? also the strip on the passenger side of the cossie dash is it possible to fit one to a standard dash?would prefer to fit a full dash complete with bannana pods but they are rare and expensive any advice welcome.

The pod section that runs along the passenger side of the dash is compatible with a standard dash assembly. However, the centre console section will not be compatible as it is designed to run with a transmission tunnel from a Sierra (i.e. 4wd / rwd). Therefore, a gap will be present between it and the bottom of the dash. All the extension and so on will be wrong as well.
-
Despite the early mk4 ghias comming well equiped as standard, there still some additions to be made.
Ive noticed that a few of of our european counterparts, have headlamp washers fitted into the front bumper.
Does anyone know if this option was offered on uk escorts(mk4).and to what models if they were
It was an option on the Ghias and above from what I remember, mainly 1988 onwards models. To be honest, not many took up the offer, and is not really a worthwhile addition as all it manages to do on the couple that I have seen is to add a watermark up the bonnet above the headlamp and to smear the headlamp glass as there is no wiper to remove the dirt.
-
not bothering with one hav to tytpe code into ecu to start it no code never start
I take it you are talking about a French car with the stupid keypad. If so, that works well until you join 3 wires together and put them to earth. Then car starts no problem!!!
If not, ignore the above.

-
i dunno - scoobys are nicked quite regularly

 :icon_cry:
 -
Whatever you have, make sure that it does not have volumetric sensors (ultrasonics). Ideally, you would want a dual-zone proximity sensor and if you really want a "belt-and-braces" approach, go for a glass-break sensor as well.
I find that when I fit a Clifford into a convertible, it is much better to put an extra SmartSiren (battery backup) inside one of the trim panels under the rear wind-down windows. You really get a lot of noise that way, drawing everyone's attention to it.
My own Cabby won't give all the details of the alarm away, lets just say it's secure) has glass-break, dual-zone proximity, dual-zone shock, 4 sirens, pager, tilt/motion among others. Overkill, I know, but I want it so that joyriders won't get it. If a professional wants it, he'll have it. Just pick it up. Won't stop it getting vandalised either, but no alarm will.
I would always double-check to see if a Cat 1 is worth it. You may pay £350 for a Cat 1 and have the insurance drop by £100. Or spend £350 on a decent non Cat 1 and fit loads of extra security to keep the car. Every situation is different. My insurance company doesn't even give a discount on the Cabby for having a Cat 1 and only a £30 saving on the XR3i. Not really worth it for me. Just gives me more money to fit "better" security.
I agree with sexy-aRSe though. A Concept 650 is a very good alarm , although a bit basic for my liking for a Cat 1. Would probably recommend going up a grade, I believe the Concept 950 is Cat 1 as well, and not a lot more money.
Mk4 Xr3i - Wont Start
in Engine Problems
Posted
Disconnect the cold start injector (injector on the top of the inlet manifold by the throttle body).
Sounds like it is flooding as the injector may be sticking. The "hunting" will probably be where it is overfuelling until it can no longer run.
Take the spark plugs out and dry them off, crank the engine over a few times with no spark plugs in to try and clear the cylinders as well. Then refit, disconnect wiring for the injector and try again.