
Vincygav
-
Posts
419 -
Joined
-
Last visited
-
Days Won
1
Content Type
Calendar
Downloads
Profiles
Forums
Gallery
Tutorials
Collections
Everything posted by Vincygav
-
Its under the rear seat. Then lift up the carpet and you would see a rubber bung around 5 inch diameter. Do not be so sure it is the tank it could well be the guage on the dashboard.
-
Ford only part, I'm also after the same seals
-
You need one with the last three letters to match being BAA
-
You can find a few driveshafts on ebay, re-conditioned or new ones.
-
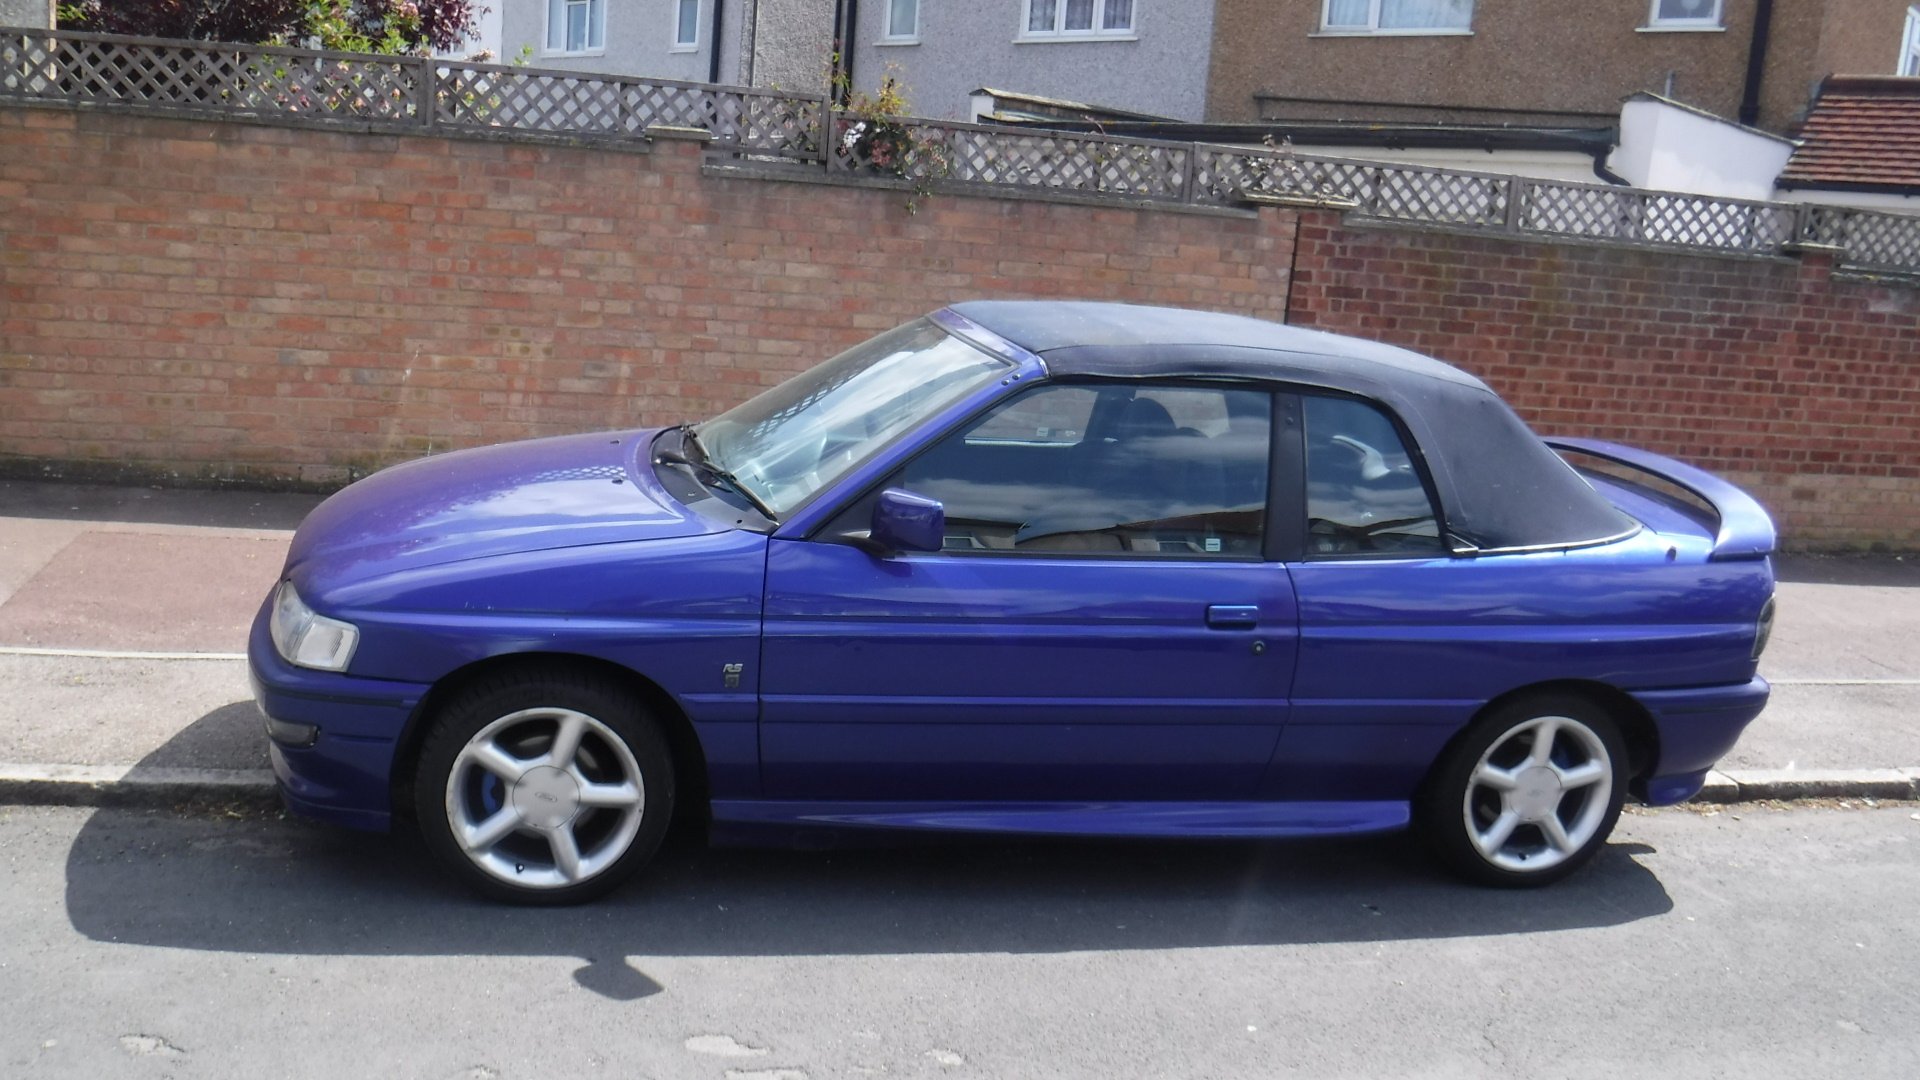
I seen this Escort cabriolet RS2000 conversion on ebay, the person lists it as 1 in only 3. Sounds a bit laughable as none in the UK were sold with RS2000 engine AFAIK. However there have been around 5 conversions that I know of including mine. Strange in all the pics he doesn't even show a pic of the engine bay. He is selling it for £1450 https://www.gumtree.com/p/ford/ford-escort-xr3i-rs-2000-cabriolet-/1218208491
-

Seen That Big Head Jermey Clarkson On The M6 The Other Day
Vincygav replied to RScab's topic in Discussion & Chat
hahahaha -
I did try spraying mine with WD40 years ago, I just left it as it is, doesn't retract back all the way anymore.
-
Buzzer is located behind the dashboard on the drivers side.
-
I had this last year, it turned out to be the windscreen rubber. It turned out to be the nearside rubber where it started to raise from the screen. I had to put Tiger seal/PU sealant until a permant fix with windscreen change could be achieved.
-
Did you test it out with a voltmeter first? It could well be the switch
-
Yes some of the mk5b's had airbags. The ones that had airbags had different front seat mounts that are like the mk6. The dashboard clock was also different and had a part in it for the airbag light.
-
No other fuses apart from main fuses next to the battery. Rear foglight does have a relay, could be that. Interior light, best check at the source with a voltmeter. Then wires on top of the fusebox. Think IIRC it is a white connector with 4 wires, red, brown, and two red/brown.
-
Sounds like the roll restrictor or an engine mount is gone.
-
That is what it looks like, brownish colour.
-
As above, the heater resistor is on top of the blow motor unit it. You could either buy the resistor block, but then remove the cover underneath the windscreen wiper scuttle to gain access to it.
-
It is a triangular connector in the engine bay. With 3 wires to it, The connector plastic is black, the other two similar white connectors are ABS and Octane Adjust. You would need to pull the red insert out to plug the diagnostic machine into it.
-
Some pics that I took of Ford Fair this year of all kinds of cars could be seen at https://www.flickr.com/photos/142812153@N05/albums/72157671189061960
-
Try ford or euro car parts
-
The code should be as posted by the original poster HW2. Most paintshops should be able to mix it up.
-
It is called Ford Racing Blue and it is Pearlescent.
-
It only has two connectors, if that didn't solve it, check out the relays. If not then its the fusebox gone pete tong. Wiring diagram is at back of Haynes manual.
-
Also make sure the fuel pump wire is connected to the battery. It is easy to forget this and IIRC would also make the red immobiliser light come on.
-
Make sure the last 3 letters/numbers match. Try ebay
-
I got fedup with the feel of the mk5 clutch pedal. It is bad enough driving a car without a hydraulic clutch. Sometimes, the nature of the mk5 auto adjusting ratchet system can make pushing the clutch pedal hard at times, especially after repeated use or engine has warmed up. I bought the clutch pedal from Burton Power who have them in stock, it is genuine Ford mk6 item. Part number 1029012 costs £32 If you can remove the whole pedal box it would be easier, I couldn't be bothered so did it via just unbolting the steering rack clamp (10mm bolt) and dashboard lower cover and taking the footwell lamp bulb to use as a torch. I did not remove the seat as some may do, I just lined up old sofa cushions and lay them outside the car with the door wide open. I did experiment once the new pedal was on with different arrangements using the original clutch cable and a shorter one. Also used the black original mk5 quadrant and the newer improved angle white quadrant. Although with every other method, it ended up with the clutch pedal sitting to high. I had to cut 10 teeth of the ratchet to get a decent pedal position. Also don't forget to remember the setup of where the yellow plastic spring washers go right of the clutch pedal and left of the brake pedal, onto the pivot shaft. Only part I am missing is the spring part number 7333648 which retails from Ford for £7.58 ex VAT I am not too sure where it attaches on the pedal system for the mk6. I guess it stops the pedal from being lifted upwards. As this is the only thing different now that I have upgraded to mk6. The mk5 Pedal setup Brand new mk6 pedal A second spare mk5 pedalbox unit with black ratchet mk5 pedal removed from car with white replacement ratchet New pedal fitted onto assembly test fitting, didn't put back all washers yet though. Clutch cable removed from gearbox clutch arm Old mk5 clutch ratchet and auto adjusting pawl system Both pedal ratchet quadrant designs. Still have the spring attached that was used in the mk5 pedal setup. white quadrant where I count 10 teeth and draw a line where I would cut it with the saw showing the ratchet quadrant cut ready to fit
-
Ouch sorry to hear, where and when was it stolen. I guess the registration is B491 URH